Friday 29 April 2011

Card-makin Mamas challenge #20 For a Loved one


Hi there - I've some more really exciting news today & that is that I will be posting for my third design team. I'm really thrilled to be working with an American based blog 'Card-Makin' Mamas. If you've not allready come from there - you must go over & take a look at the site, theres plenty to inspire & I'm sure you'll enjoy the rest of the DT's makes, click this link: Card-Makin Mamas.

The theme for this challenge was 'For a Loved one' & was sponsored by Meljen designs. If you've not heard of their images go give them a check put - they're particularly well drawn & have an extreemly distinctive style that once your familiar with you can spot a mile off! heres the link to the store Meljen designs.

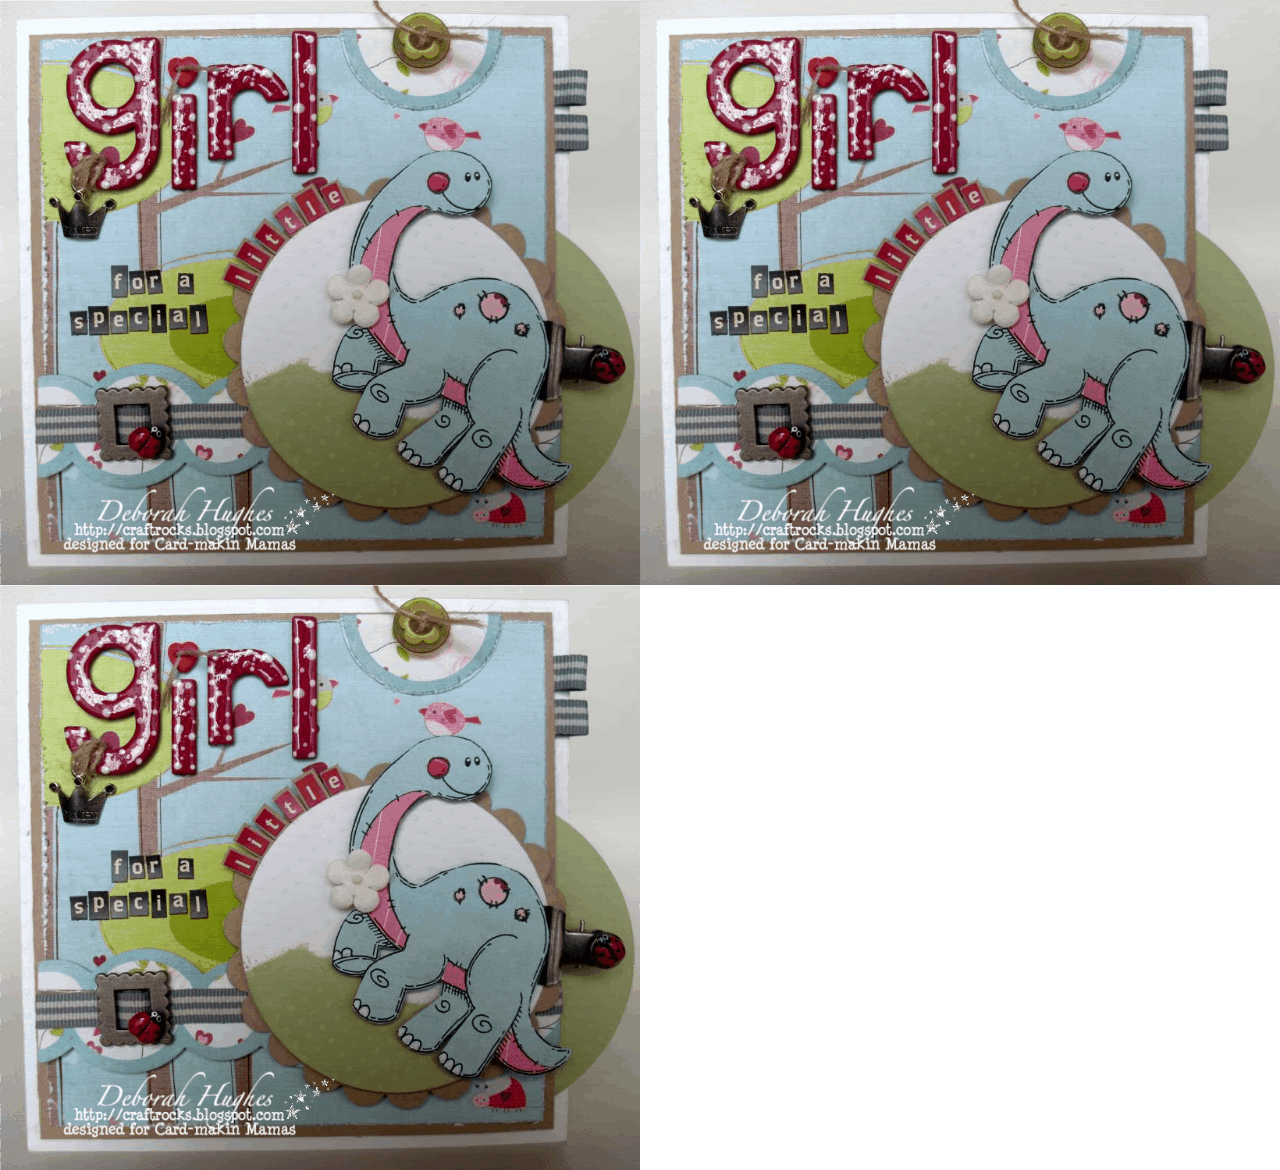
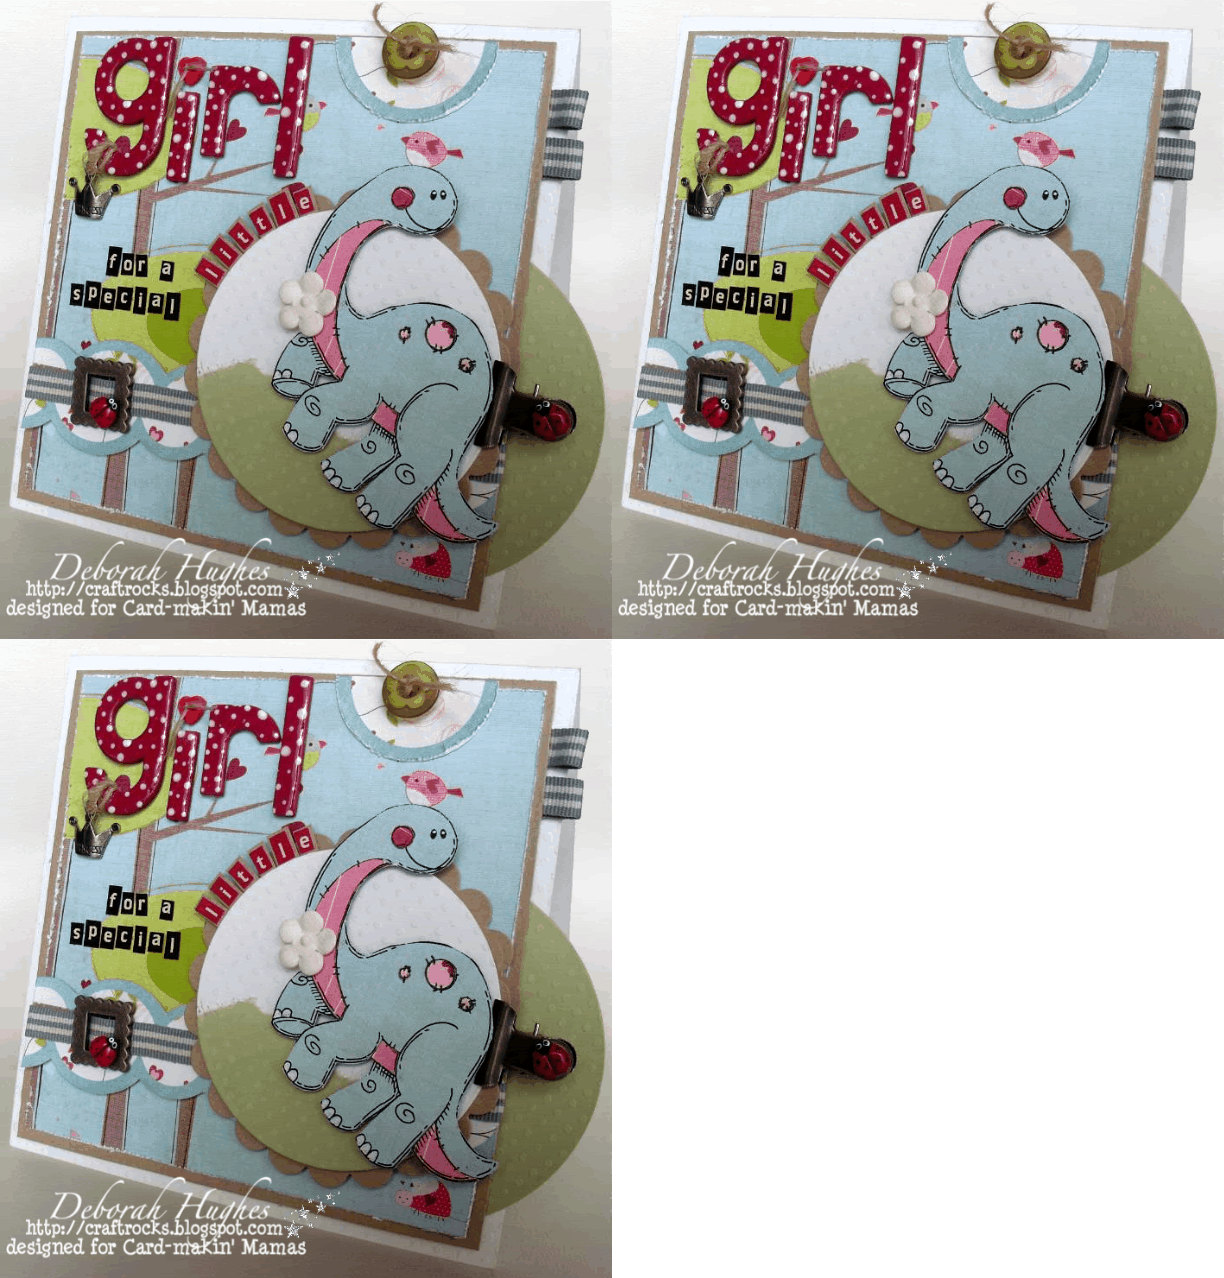
Now onto my card. Stunning papers are Bo Bunny Love Bandit, image by Meljen Designs of course...

Photobucket

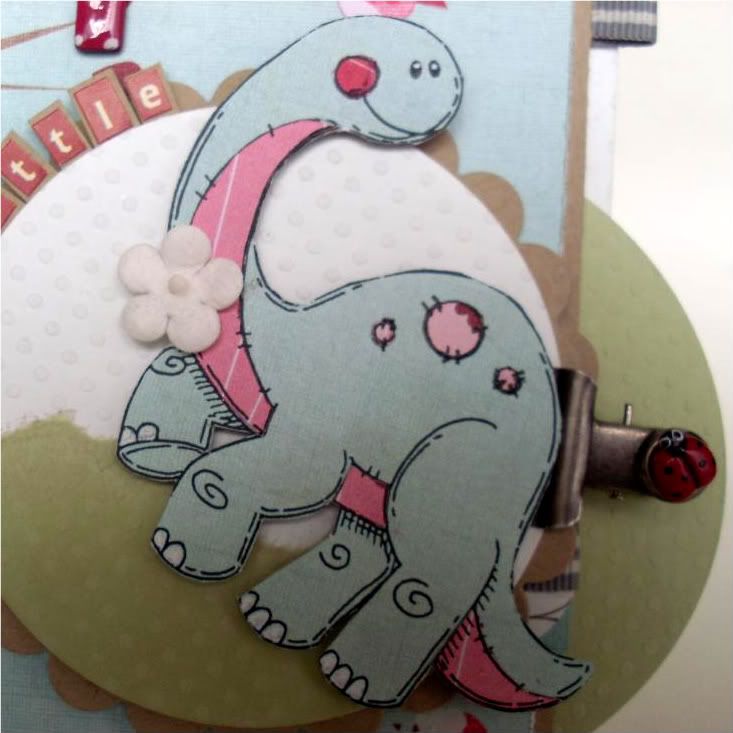
As I sitll don't have my Copics yet & my Distress Inks keep running when I try to watercolour digi images cause of not having genuine ink (the cheap stuff runs like crazy!) I decided to paper piece...

Photobucket

The fab card-stock is Bo Bunny double dot that I've recently fallen in love with for makes like this...


Photobucket

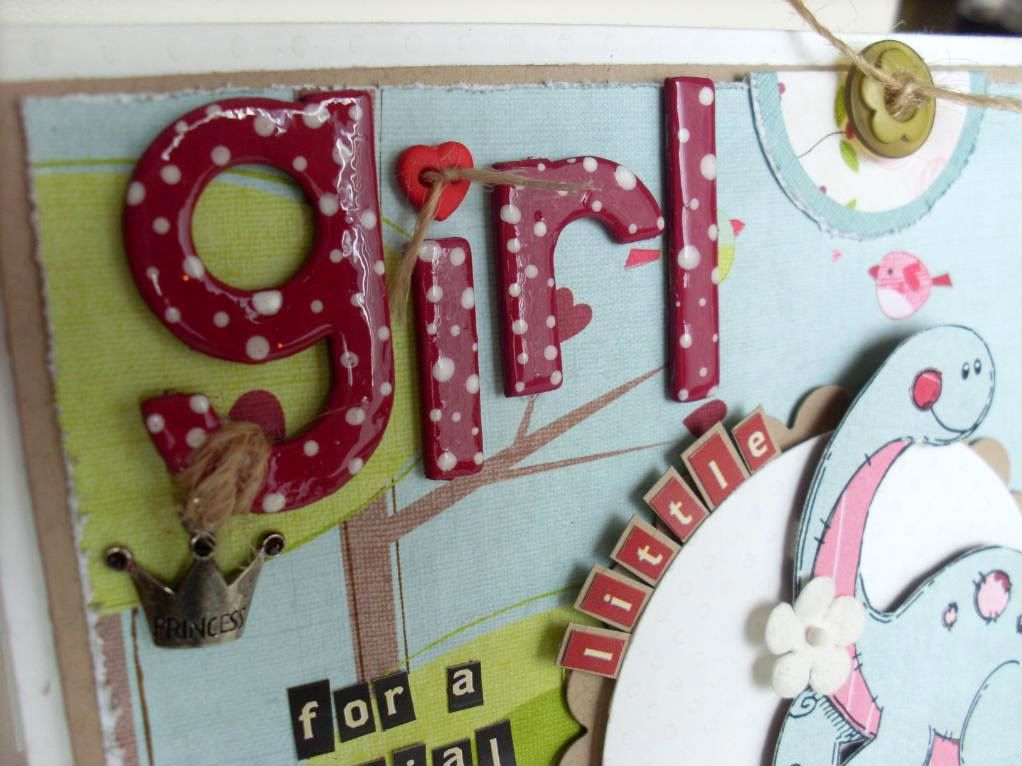
The Maya Road chipboard letters have been painted with red acrylic, dotted with white acrylic, then set with Glossy Accents...
Photobucket

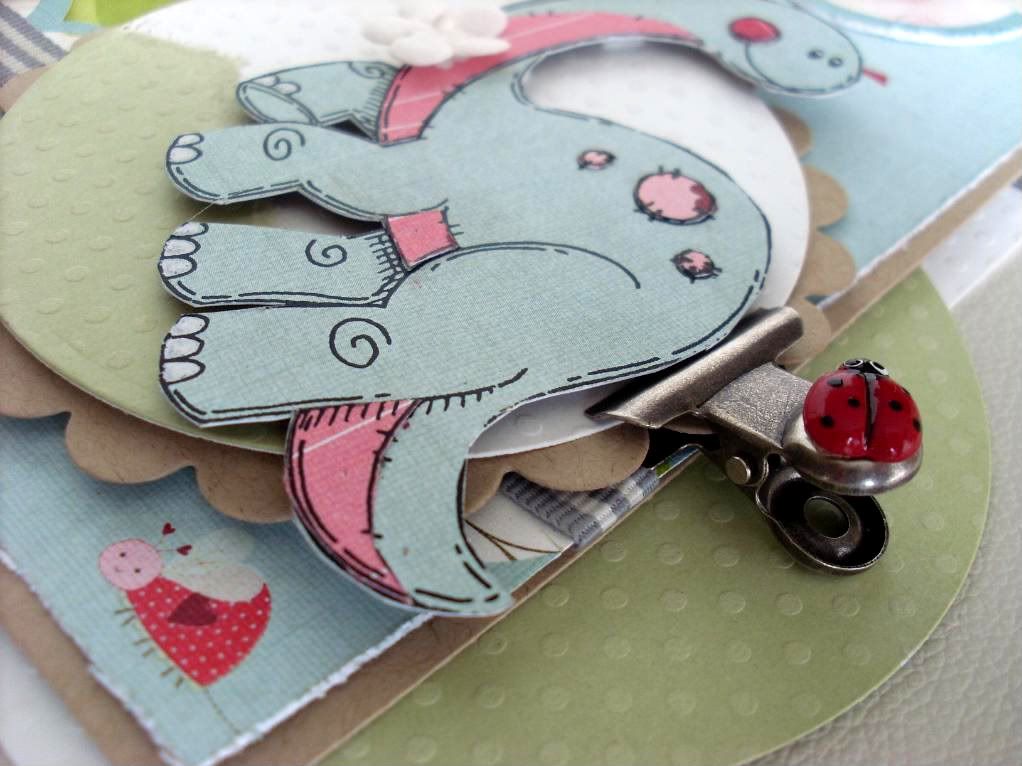
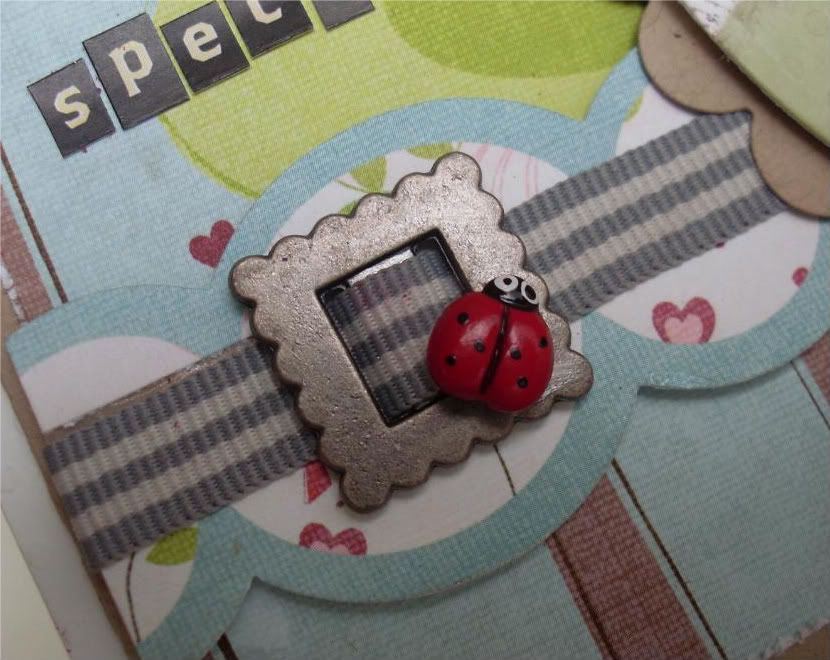
...Metal bits are from We are memory keepers hardware tin. Cut little lady-bugs are actually buttons. Mini-alphas are Cosmo Cricket & ace green button by Stampin Up...
Photobucket

Kraft card-stock & twine added for that touch of rustic charm! The tab has been cut from patterned papers form the collection...
Photobucket

I'd like to enter into the following challenges:
Sarah Hurley - Butterflies/Things with wings
Paper Play - Object not intended for craft (ladybird buttons off childs cardigan & twine)
Charisma Cardz - April Showers, May brings flowers
Just & Ink - Just add a flower
Frosted Designs - Strips & Polka dots (stripy ribbon, polka dot cardstock)
Paper Pretties - Paper piecing
Thursday 28 April 2011

Whoopsi Daisy challenge 'Fairy Magic'

Hi all, I've actually got the good, the bad & the ugly to tell you today! so lets go in that order...The good (well the great) is that I will be now working on the Whoopsi Daisy design team - yey!!! I'm excited in particular to be on this design team as the images are out of this world. I honestly just can't believe I'd never heard of them before as they really are amazing & right up my street. They are well drawn, pretty, cute charming digi stamps with a ream of different sheets to choose from. I'm really fussy over my images & whilst I would probably have accepted just about any ofer to be on a DT at the mo! - I certainly would not work with images I didn't like or consider up to standard. I love all the famous, well known stamp companies that I often feature on my cards & don't often deal with other peoples. Only the best will do for me & trust me - these images are some of the best I've seen. At only 99p a sheet they are a total bargain & I stongly recommend you give them a check out. Why not head on over there now with this link: Whoopsi Daisy. Don't forget to call back here & tell me what you think!

So now for the bad - I should have posted this on Sunday when the challenge went live - so a massive heart felt appology to Linnie & all the Whoopsi Daisy girls - I'm so so sorry, which brings me onto the ugly. Theres been an outstanding issue in my personal life for the past 3 years which has really taken its toll on me & my family. I don't want to go into details but it been a really difficult time & it all came to a close this week, so my heads been a little all over the place in the lead up to it - hence forgetting to do this post. Now its not all doom & gloom as I am now able to put it all behind me & get on with our lives without any more worry. 

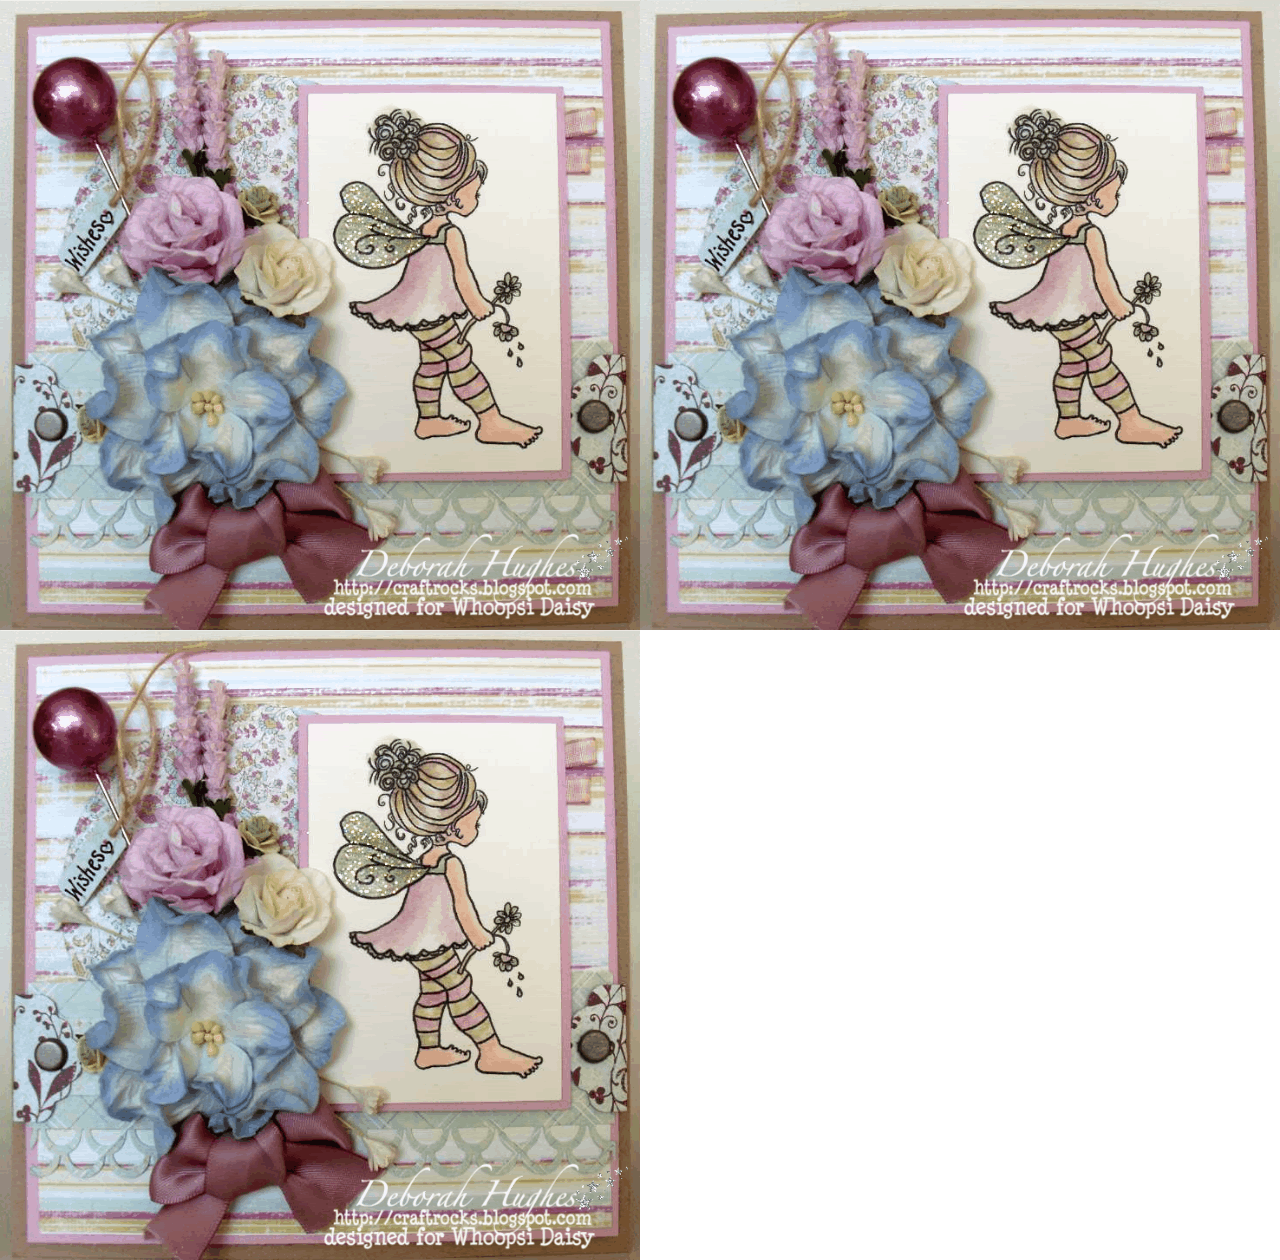
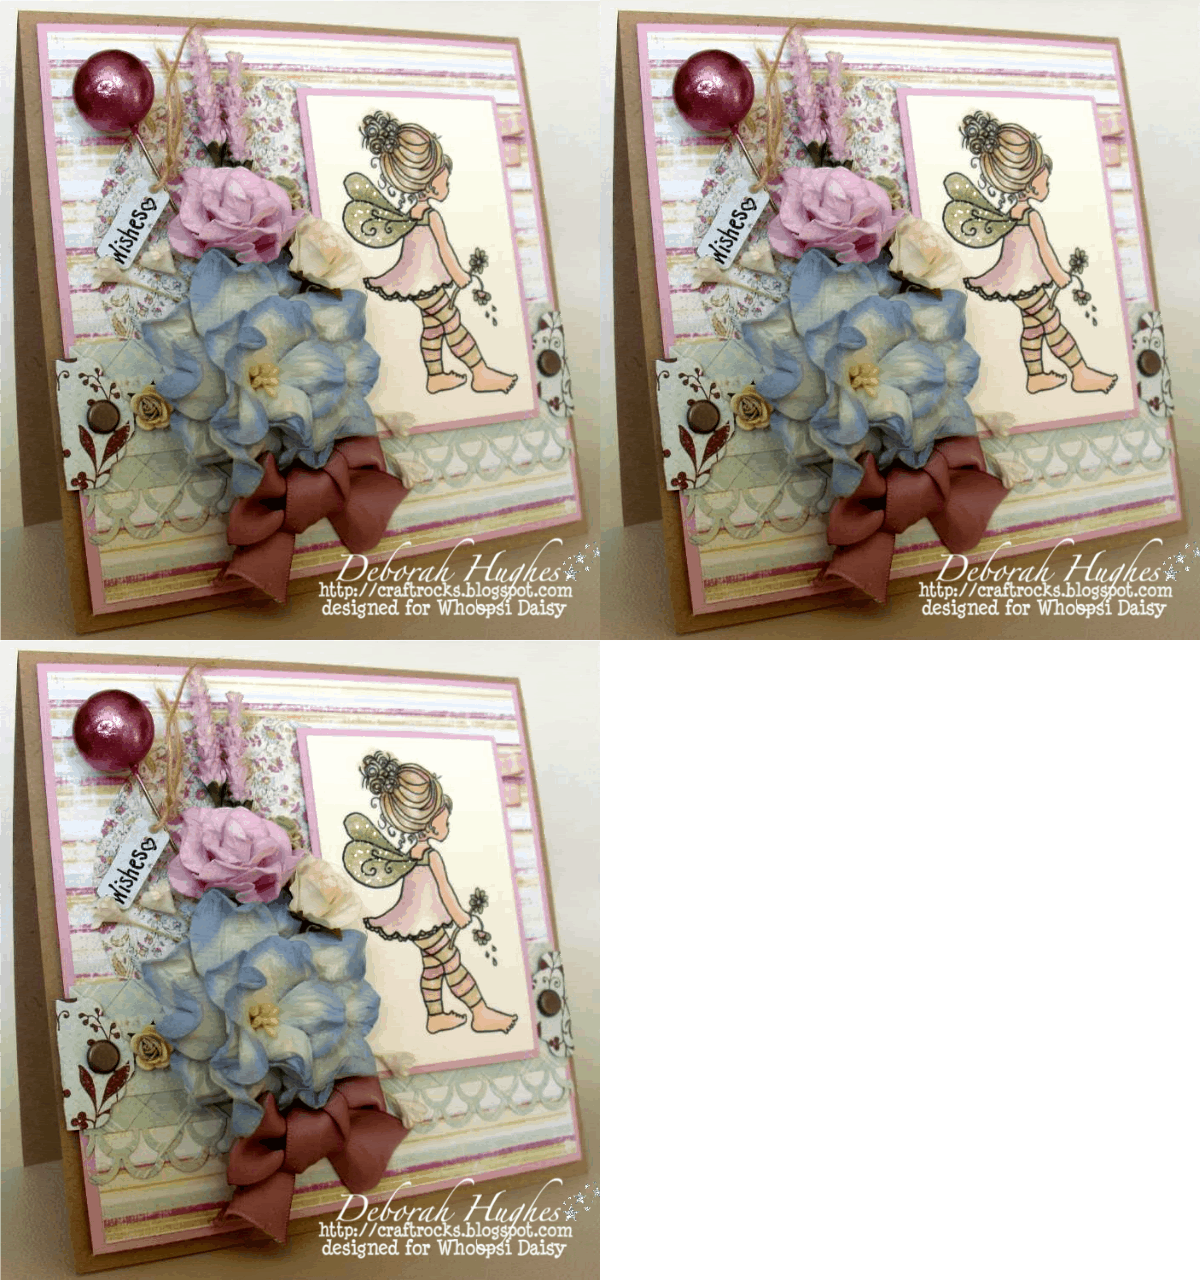
Now onto my card... I LOVE fairy images so this weeks 'Fairy Magic' challenge was defo one for me! - if you've not allready come from there then why not head on over now & check out the rest of the DT for some inspiration here: Whoopsi Daisy 'Fairy Magic' challenge. For my card I used sheet 199...
Photobucket

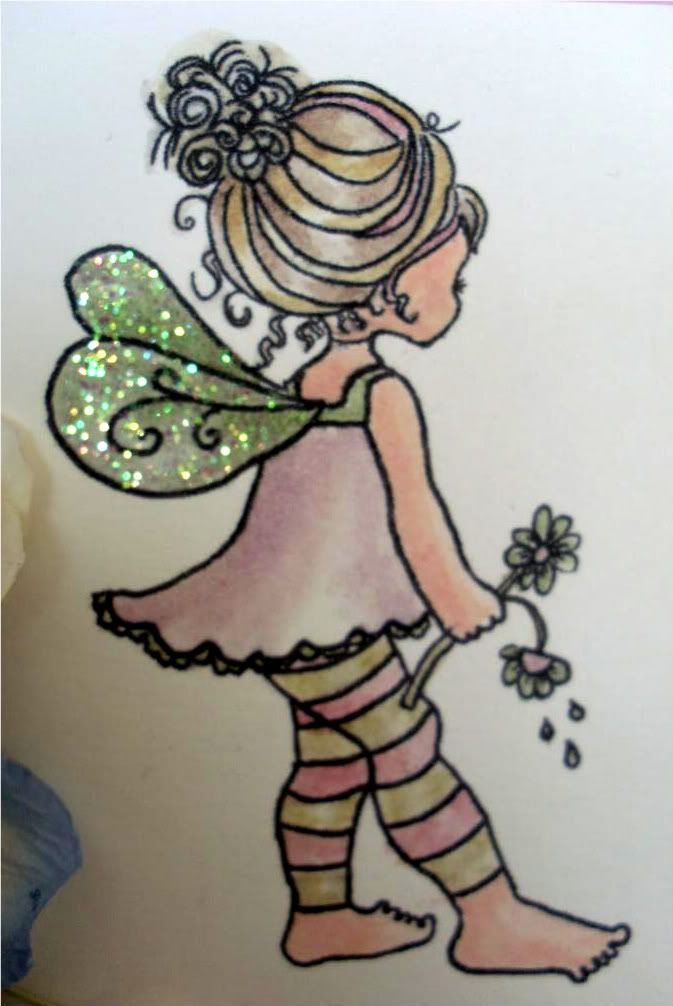
...How good is this image, simple, cute but elegent & very efective & charming. I think she looks great in these muted colours & Distress Inks are always good for that, check below for colours used...
Photobucket

Distress Inks:
Skin: Tattered Rose
Hair streak 1: Old Paper with touch of Pumice Stone
streak 2: Pumice Stone with touch of Frayed Burlap
streak 3: Victorian Velvet with touch of Pumice Stone
Pony tail is a light mix of streaks 1 & 2
Dress: Mulled Lavender
Wings: Pumice Stone & Frayed Burlap
Tights stripe 1: Spun Sugar & Victorian Velvet
Tights stripe 2, petals & stem: Bundled Sage & Shabby Shutters

Highlights:
Wings: Irridescant chunky flower glitter.

Photobucket

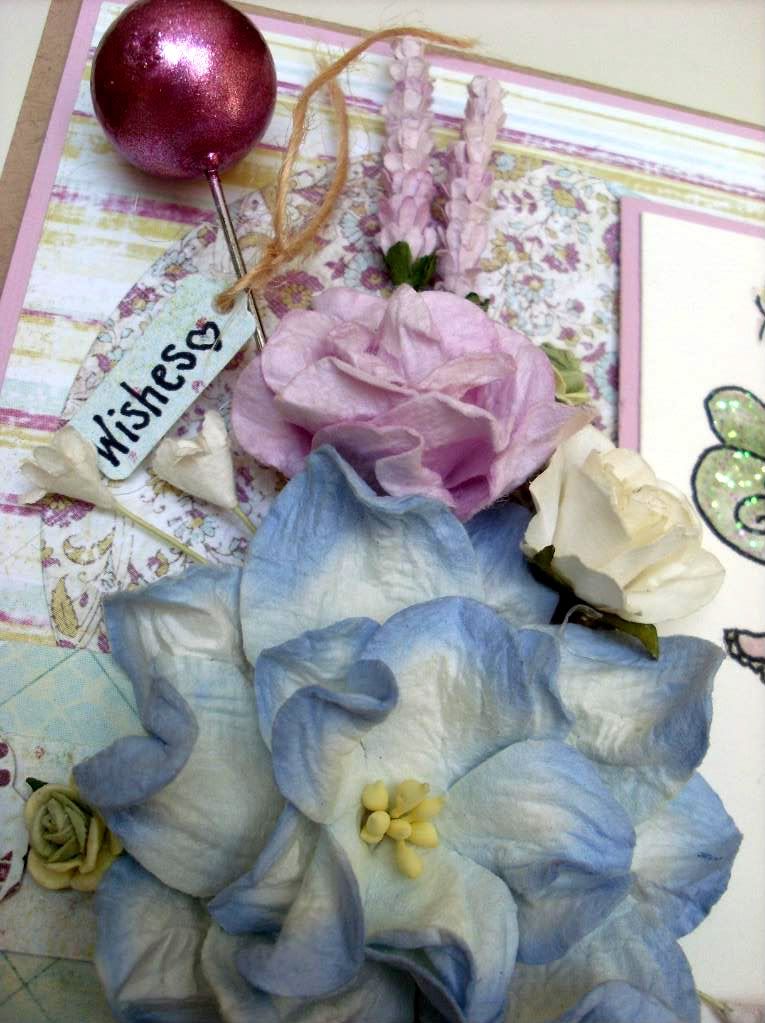
...The fabulous flowers are one fo my all time fave buys from Wild Orchid Crafts - they are so pretty & give the card such a professional feel. The lovely soft mulberry paper adds texture, the shapes are fab especially the larger blue flower - I just love how the petals twist! - Then theres the colours that porceline blue & the lilac is just stunning & compliment the papers perfectly. The collection is Lilac House by Fancy Pants - its a recent purchase & I've done some great little makes with it & I really LOVE it with this image!!!

Photobucket

...The puch is double loop from the punch around the page range by Martha Stewart. The other punches are a hobby craft large tag punch that I've folded iver & made tabs with then secured with a brad - I'm not always  a massive fan of punch art, but I do love to find ways of using my punches that they were not necessarily primerily made for & this one makes great little tabs. The large pin has been covered in nail varnish - which is a great way of makijng your existing pins match different colour schemes. Then I've made a little jewellry tag by chopping down a larger tag & tied with twine around the pin.


I'd like to enter into the following challenges...
Sarah Hurley - Butterflys/Things with wings
Charisma Cardz - April Showers May brings Flowers

Friday 22 April 2011

Prairy Fairy challenge 'April showers May brings flowers'

Hi all, I'm posting a card I have done as guest designer for Fairy Fun Fridays. The blog uses Prairy Fairy images, which if you haven't allready heard of is defo worth a look. Theres not endless amounts of images, but theres certainly enough & I think thats better sometimes cause you can take it all in! They are digi-images so are re-siable, really well drawn & have character & charm. along with some really pretty fairy & mystical images, theres caracatures, animals & a charming young lady named Gillian. Why not head on over to the on-line store & check it out now.
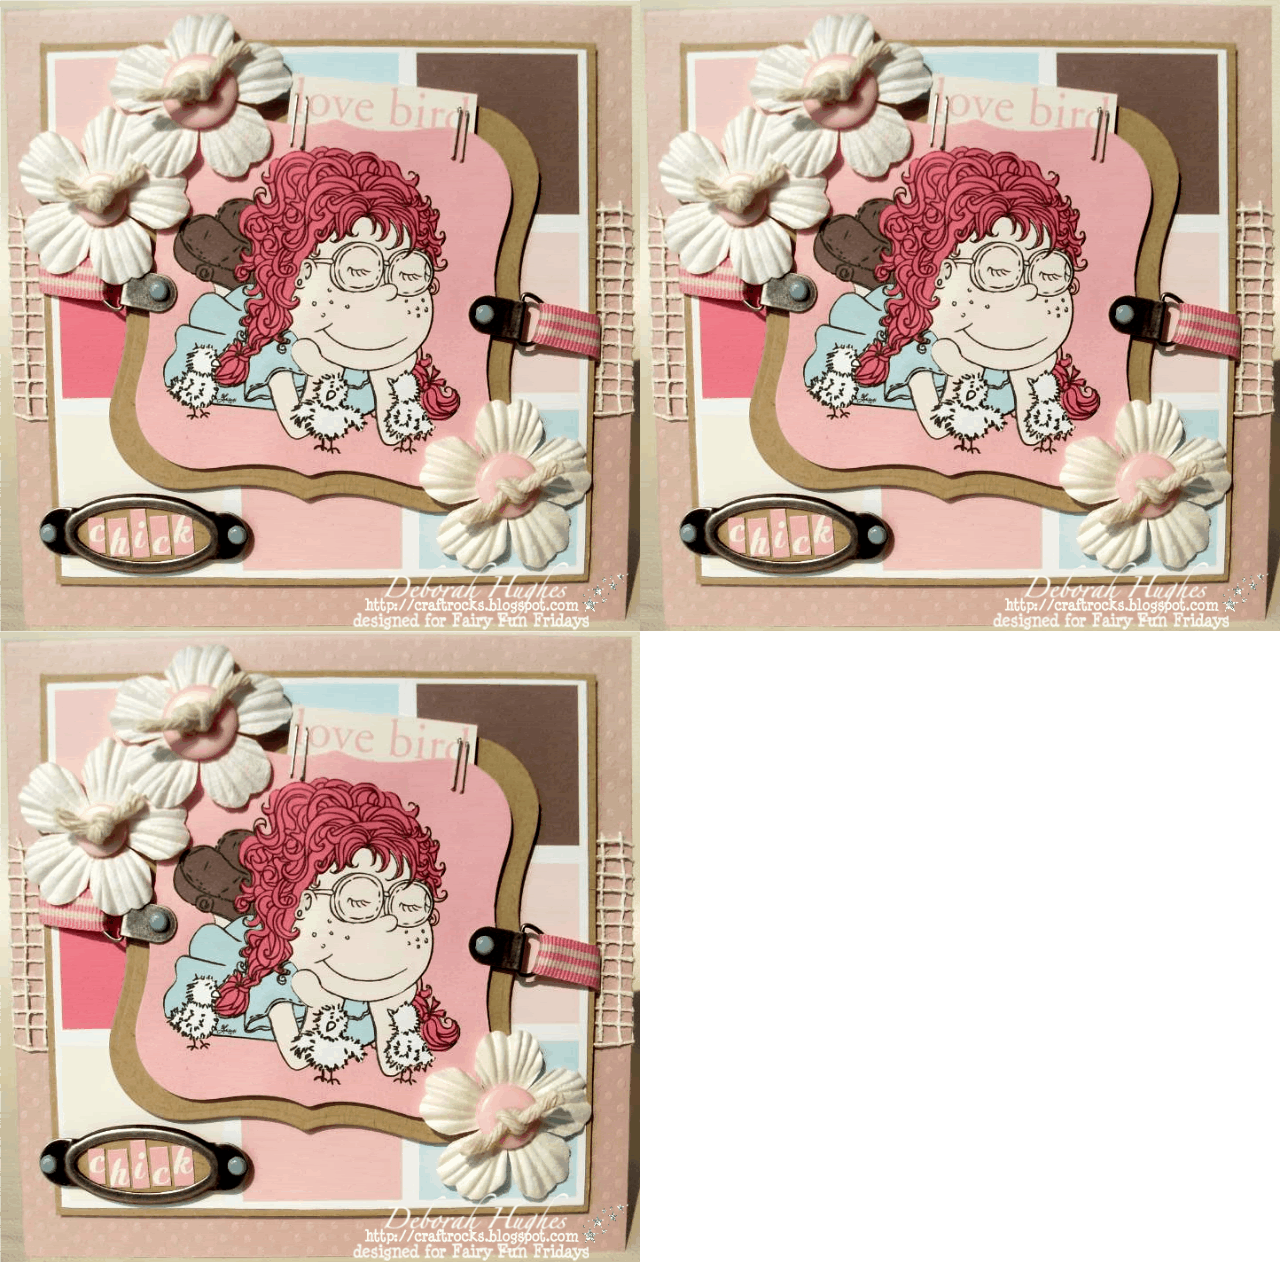
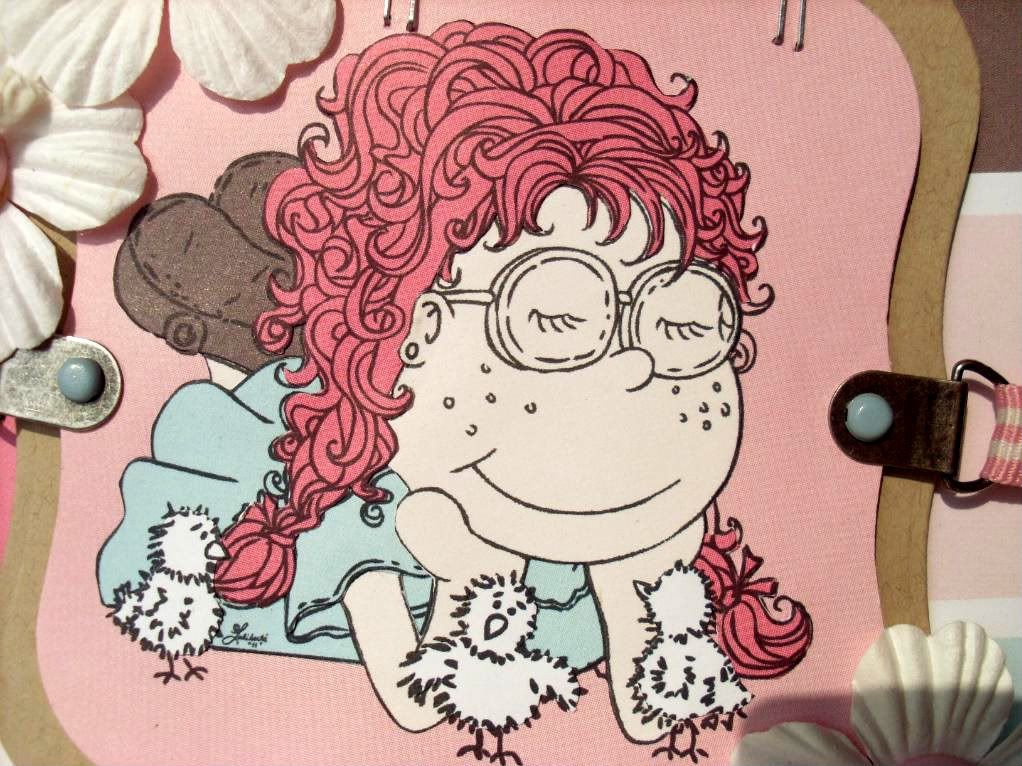
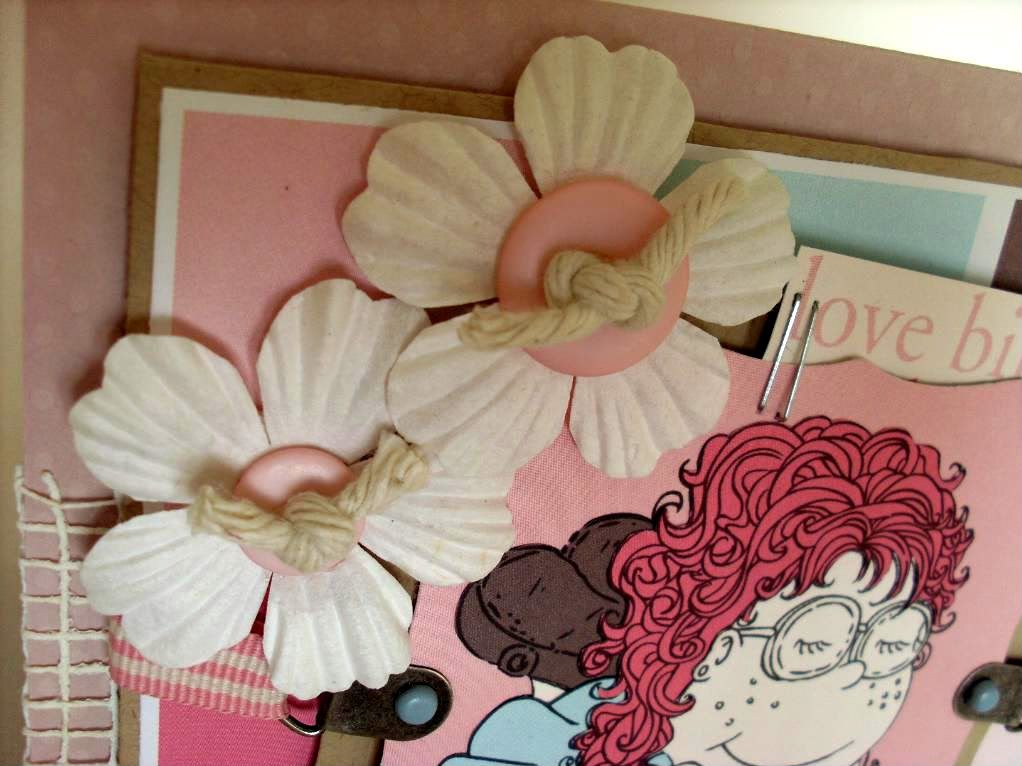
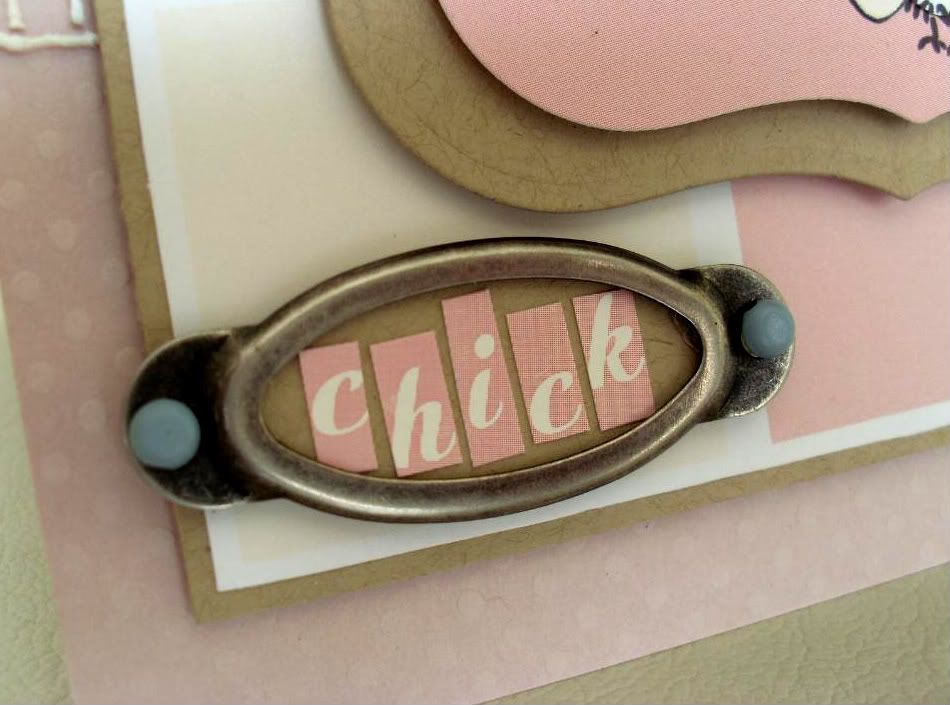
Anyway on to my card 'Chick' I chose 'Cute Chicks' for my image & as I still don't have Copics (yet but do have some on thier way to me as we speak!) I choose to paper piece, which I do enjoy doing from time to time anyway & am actaully quite pleased with how its turned out...

Photobucket

..The great cardstock is double dot by Bo Bunny & some kraft card-stock too. The yummy papers are by Sei & I THINK the collection is 'Sweetie' but don't quote me & if anyone knows otherwise - please feel free to correct me! Anyhow in the collection you get loads of patterns & also some plain pieces in the same colour scheme, so it makes them perfect for paper-piecing when you don't want any patterns on your image...

Photobucket

...Most of the time when I paper piece, I do kind of a cross between decopage & paper piecing. As in when you paper-piece you cut out each section & arrange in 1 layer on top of the whole image so all the cut edges meat. However I will cut beyond the section if the image calls for it & layer sections so theres bits tucking in underneath, then on top. Sometimes I'll then use foam pads or silicone for extra dimention, but I've left this one flat...
Photobucket

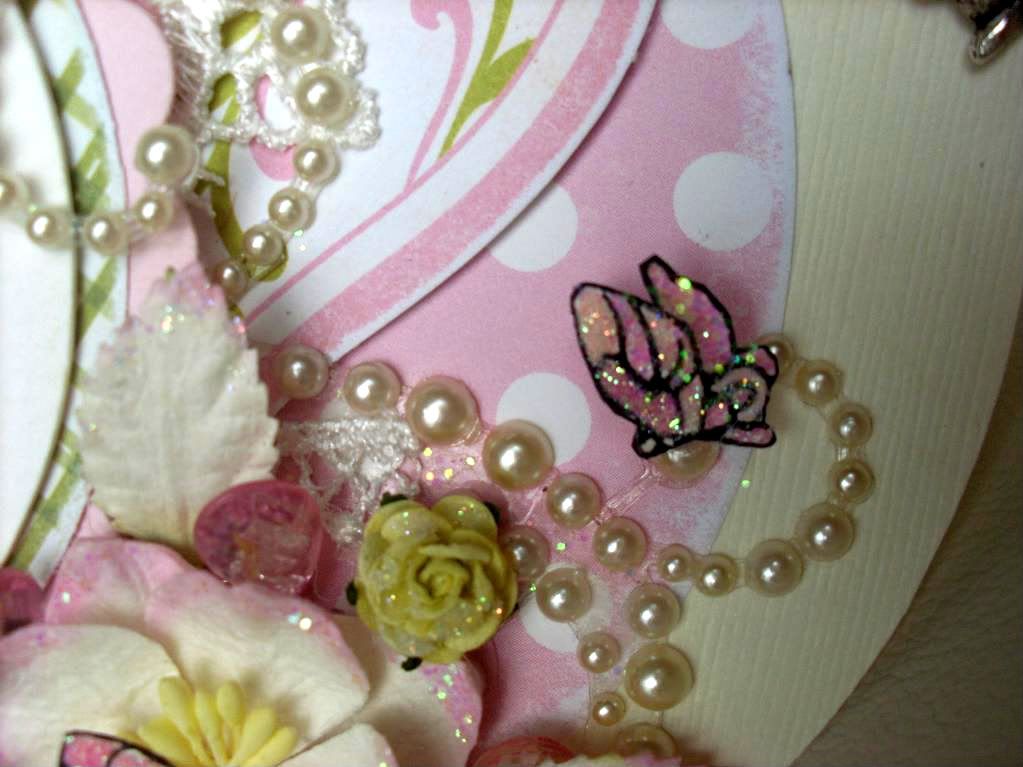
The flowers are prima, with papermania buttons tied with twine. I have added a mesh strip of jute under the main square & used We are Memory Keepers metal hardware tin pieces in pewter, but changed the brads to blue, tied with ribbon & tucked under. The love bird sentiment is cut from patterned paper from the collection & stapled in place...

Photobucket

...The second sentiment has been added on another piece from the metal hardware set & mini-alphas are from a different collection by Echo Park.

Tuesday 19 April 2011

Anything Goes challenge #39 Colour Challenge (Pink & Brown)
Morning crafters - another exciting day here for me, as I am posting my very first card for the 'Anything Goes' design team. If you haven't allready come from there be sure to head on over & check out the fab creations by the rest of the design team here http://anythingchallenge.blogspot.com/
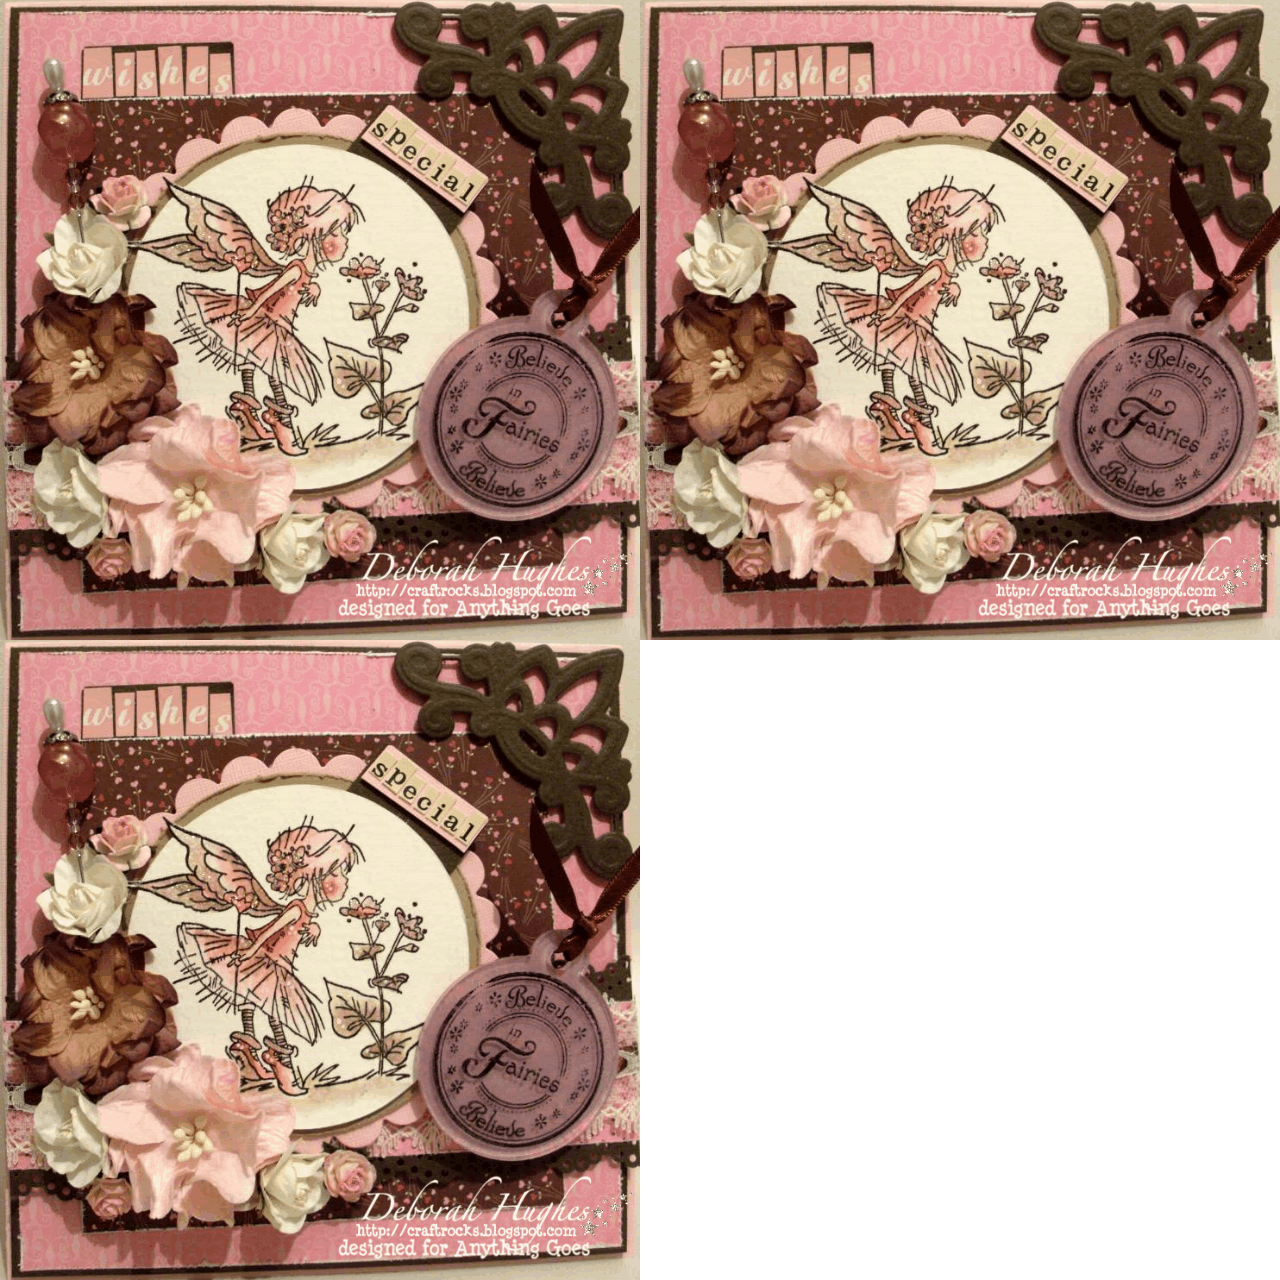
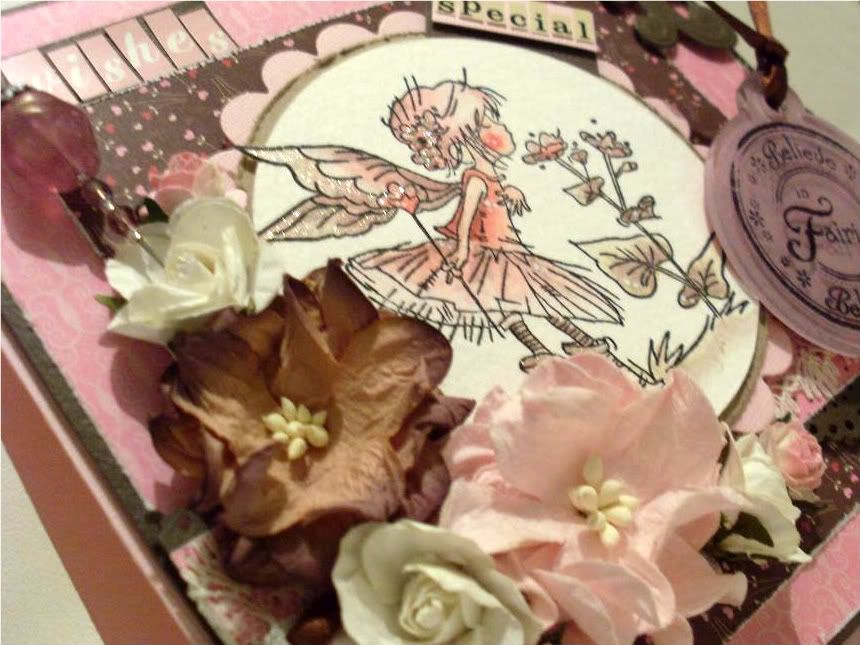
Anyway on to my card...I love pink & brown & ordered these fab papers by Bo Bunny which are in really pretty shades of pink & brown with a slight hint of deep pink & cream too. The image is LOTV 'Fairies on tiptoe'. The stamp & flowers are a new purchase too & I think all work really well together with the papers. I just love it when everything co-ordinates & comes together colour wise I think its one of the most important aspects of the card...

Photobucket

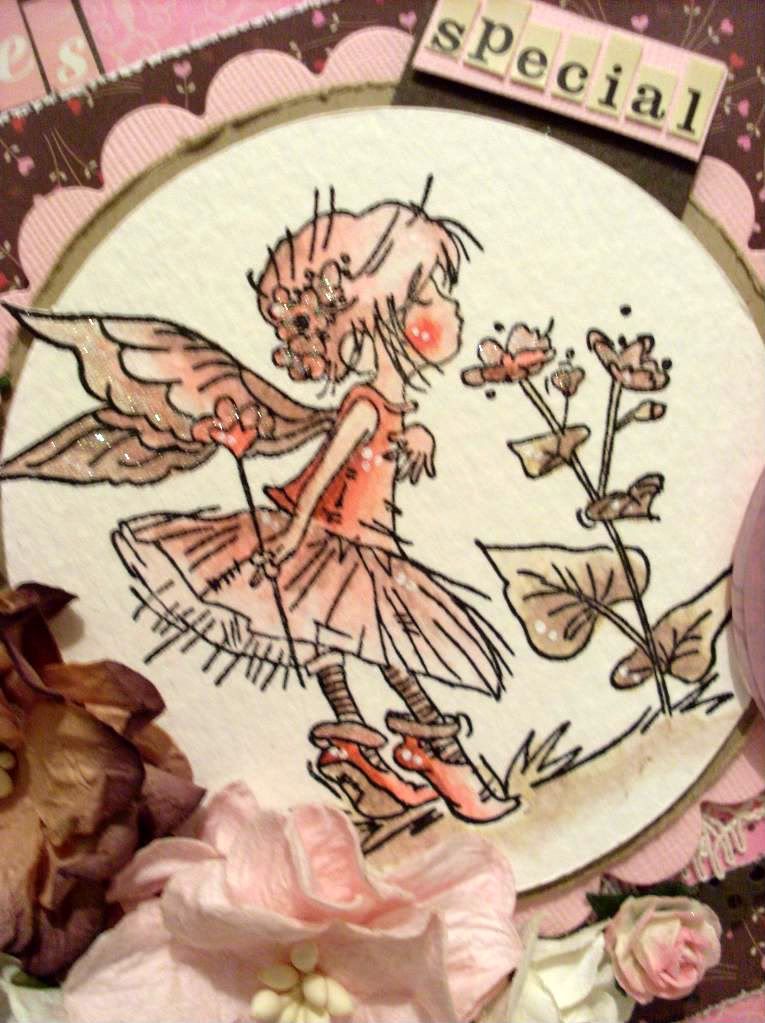
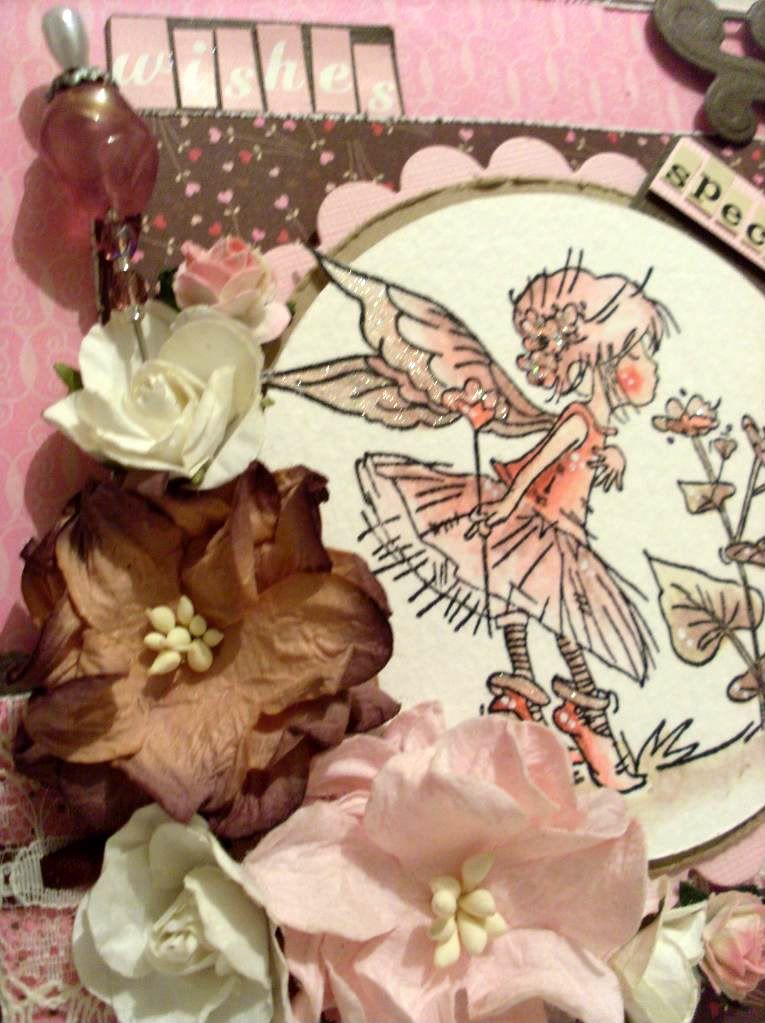
I wanted to keep the image quite muted & subtle & Distress Inks are great for that, I always love my Distress Inks, but think they've worked particularly well for this make...

Photobucket

Skin: Tattered Rose
Cheeks: Worn Lipstick & Fired Brick
Top, Shoes, Lower wand, Upper flowers on plants & Inner flowers in hair: Tattered Rose & Worn Lipstick, hint of Fired Brick & Pumice Stone
Hair, Skirt, Inner section of wings, Upper wand,Upper section of flowers on plants, Outer section of flowers in hair & Ankle straps on shoes: Spun Sugar & Pumice Stone, hint of Worn Lipstick & Fired Brick
Grass, Stems, Leaves & Bottom of shoes: Old Paper, Pumice Stone
Tights: Tattered Rose & Pumice stone 
Highlights with Sakura Gelly Roll Starburst & Lily White Doodlebug design glitter:
Outer wings, Upper wand/ flowers & Ankle straps.

Photobucket

Stunning flowers compliment the design perfectly both in colour & soft texture which adds that soft tactile element & these mulberry paper flowers are just fab for that!

Photobucket

I have made the pin from a luxury large glass bead, small irridescent glass beads & silver metal spacer - all of which have come from pieces of jewellrey I've had, love it when you can make use of something that would other-wise be junk - especially when it looks so pretty - am really pleased with that one & probably don't make use of the technique so much anymore...mental note 'more pins from now on!'

Photobucket

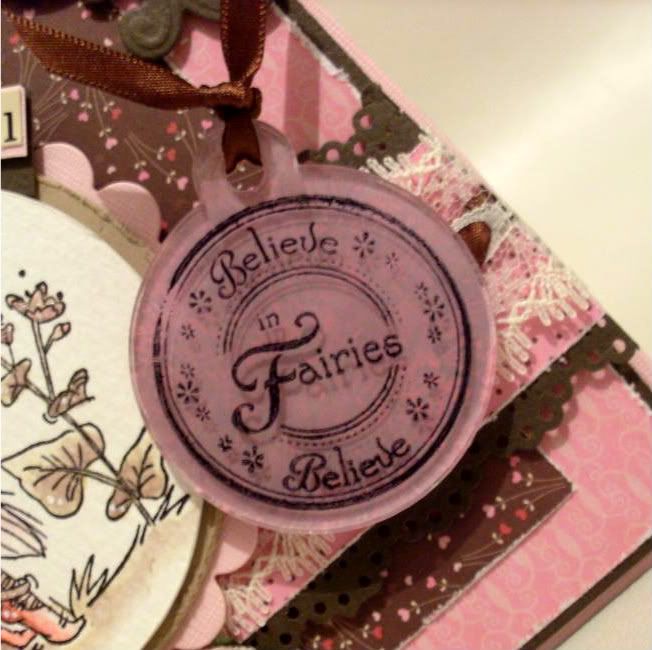
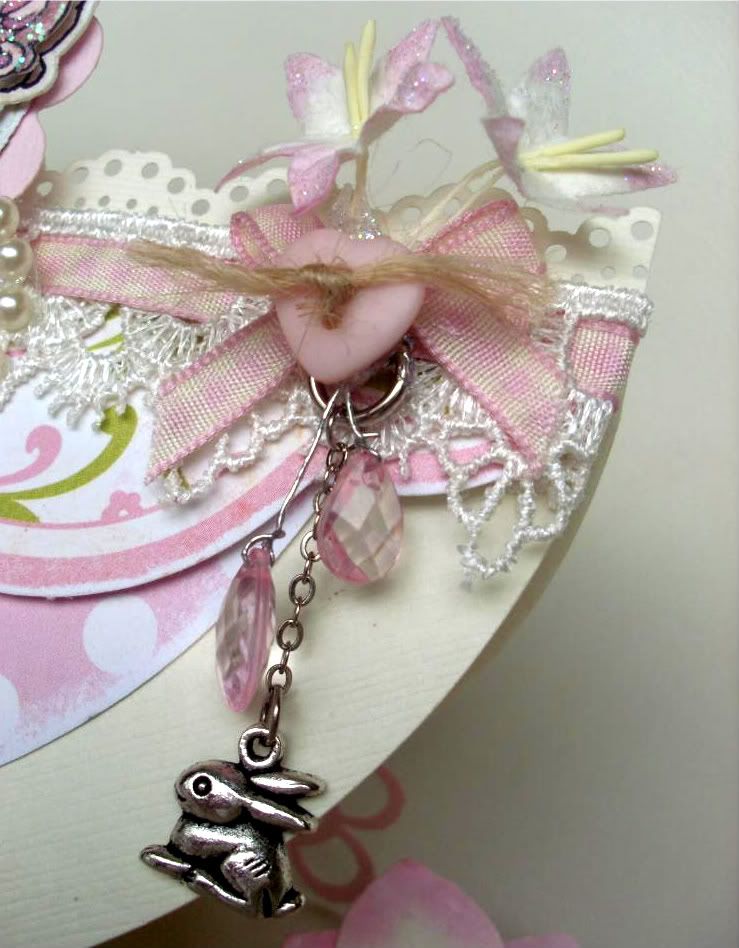
The sentiment is a LOTV stamp & has been stamped on these great little acrylic pieces by 'That special Touch of' I got some different shapes for my Cardmaker of the Year prize & just love them. For this one I have dabbed the back with acrylic, working in 3 shades, you need to leave some parts clear so the next colour will show through & leave to dry between each coat, so that the whole piece is covered by the end of the 3 colours. Then use Staz-on to stamp the sentiment of the reverse - just the right sie...how cool! - finish with ribbon to match the ribbon threaded through the elastic lace.

Photobucket


Good Luck if you are entering the challenge - I can't wait to see what you all create, to enter your creation click here: http://anythingchallenge.blogspot.com/2011/04/challenge-39-colour-challenge.html

Sunday 17 April 2011

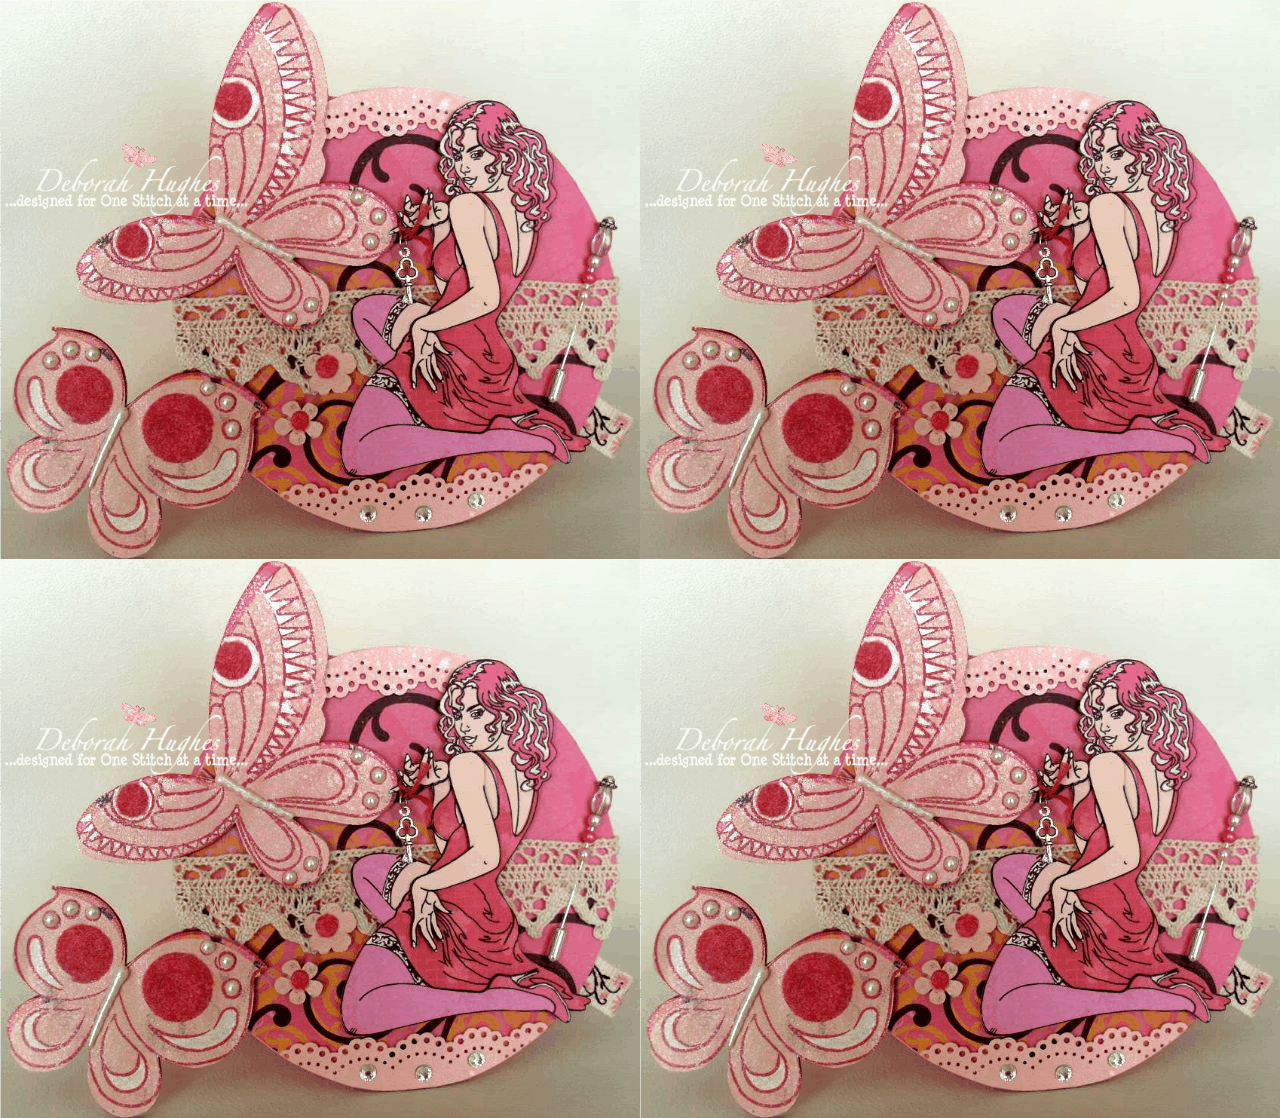
One stitch at a time challenge #58 'Make it Sassy'


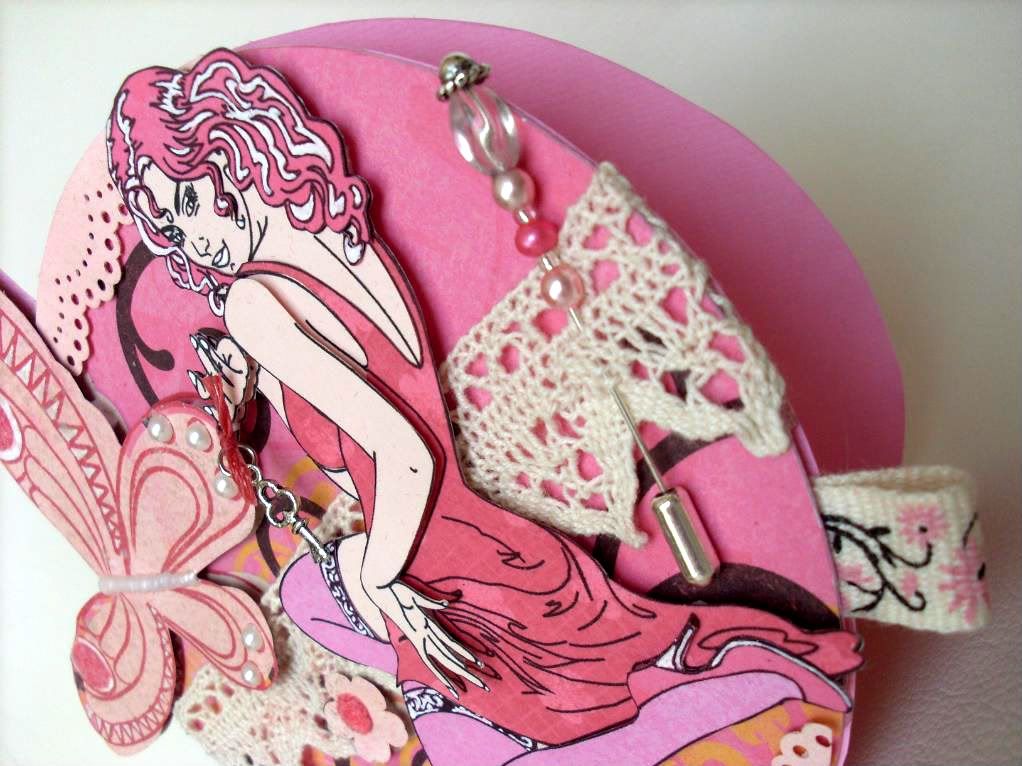
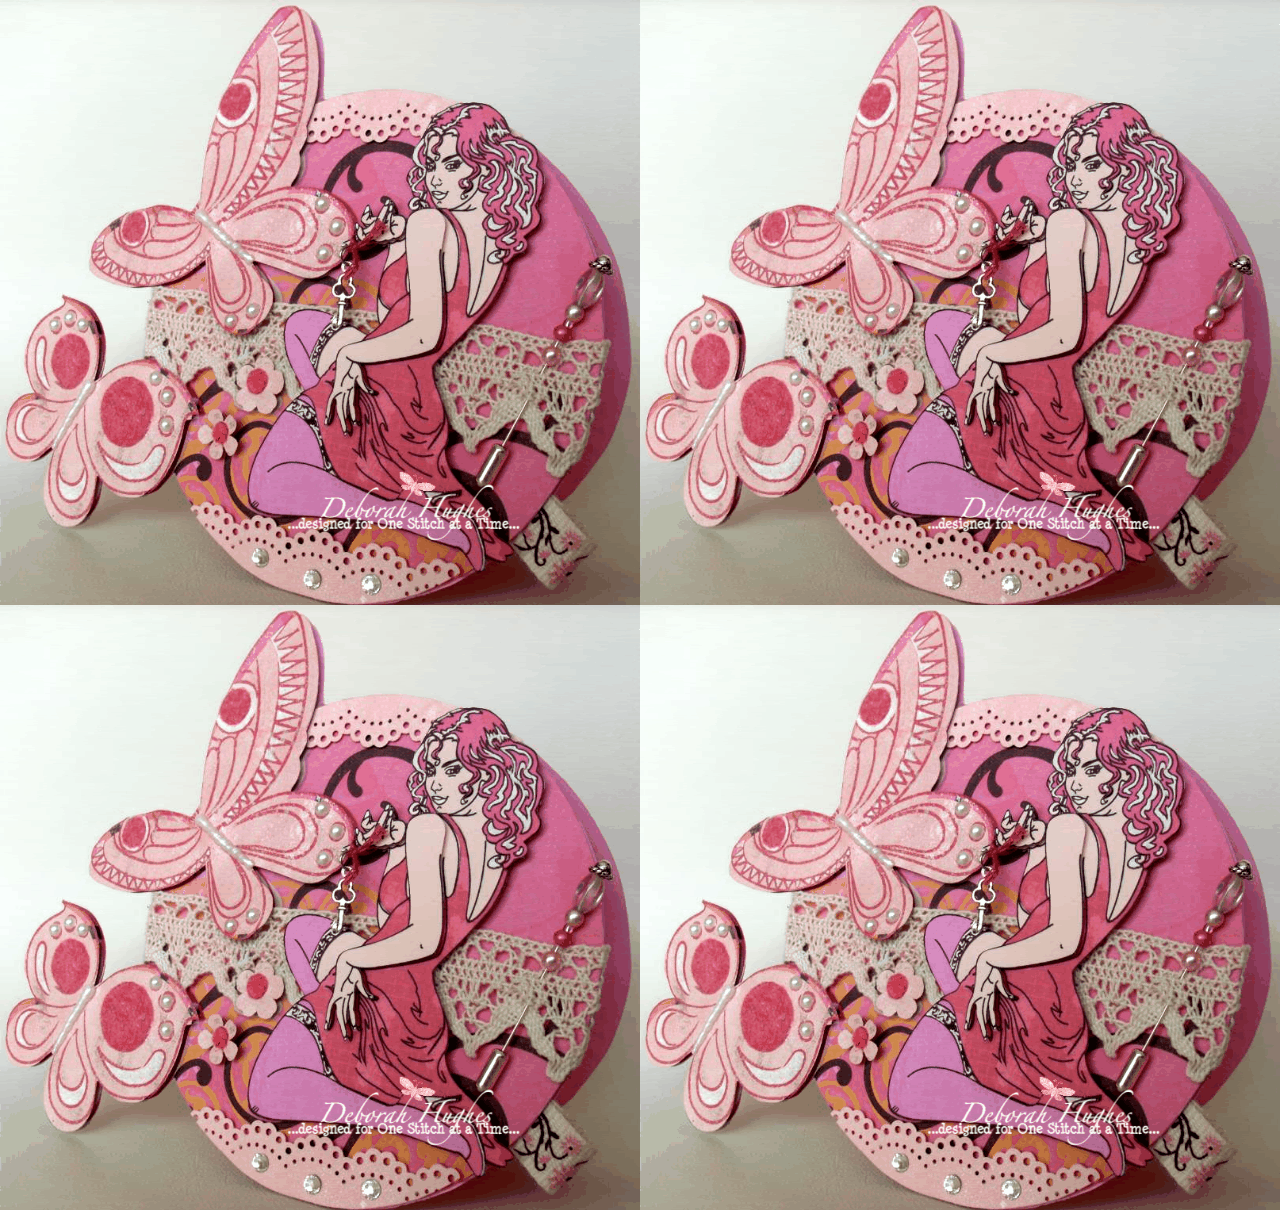
Hi all, I'm really excited today as this is my very first post as a GDT member! I was contacted by One Stich at a Time after winning one of their challenges & had actually never heard of them before I found the challenge blog. If you've never seen their products then I really recommend checking them out, they deal primarily in digi format stamps & papers, with several artists covering a wide range of styles & images. Link to the shop is http://stitchybearstamps.com/shop/ so why not go on over & have a nosey, theres quite a lot to get through so it may take some time to view everything but I was really glad I did & will defo getting some purchases in soon. Some of my personal favourites are Barbra Jenson, Beary Dust stamps, JLJ designs, Kelleys Kids & Stitchy Stamps but they're all good & with so many to choose from, I'm sure you'll find something you like. Be sure to call back here & let me know what you think. Can't wait to see all of your entries too its such a great theme, it has loads of scope & the style suits me down to the ground, you can get back to the OSAAT challenge blog here:'challenge #58 Sassy' ...if you've not allready come from there then be sure to head on over & check out the other fabulous DT's creations. So my card...

Photobucket

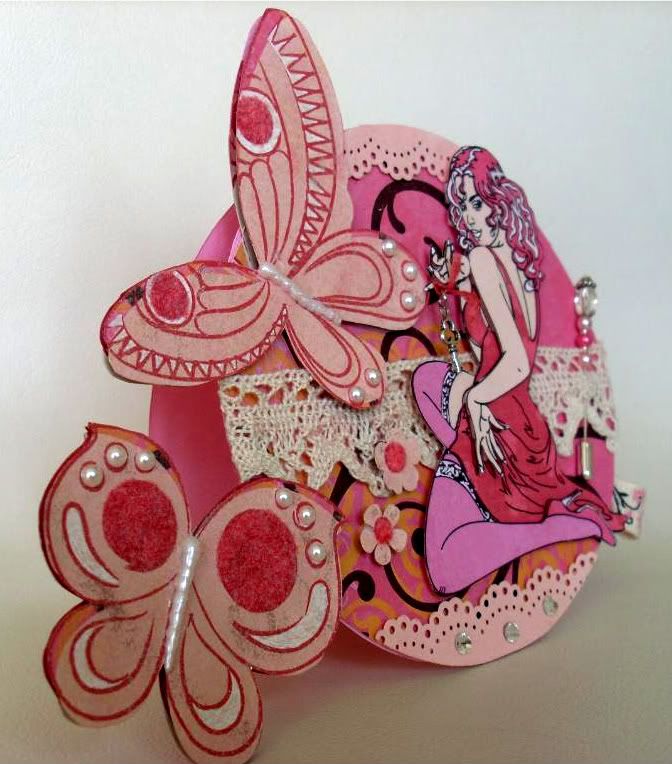
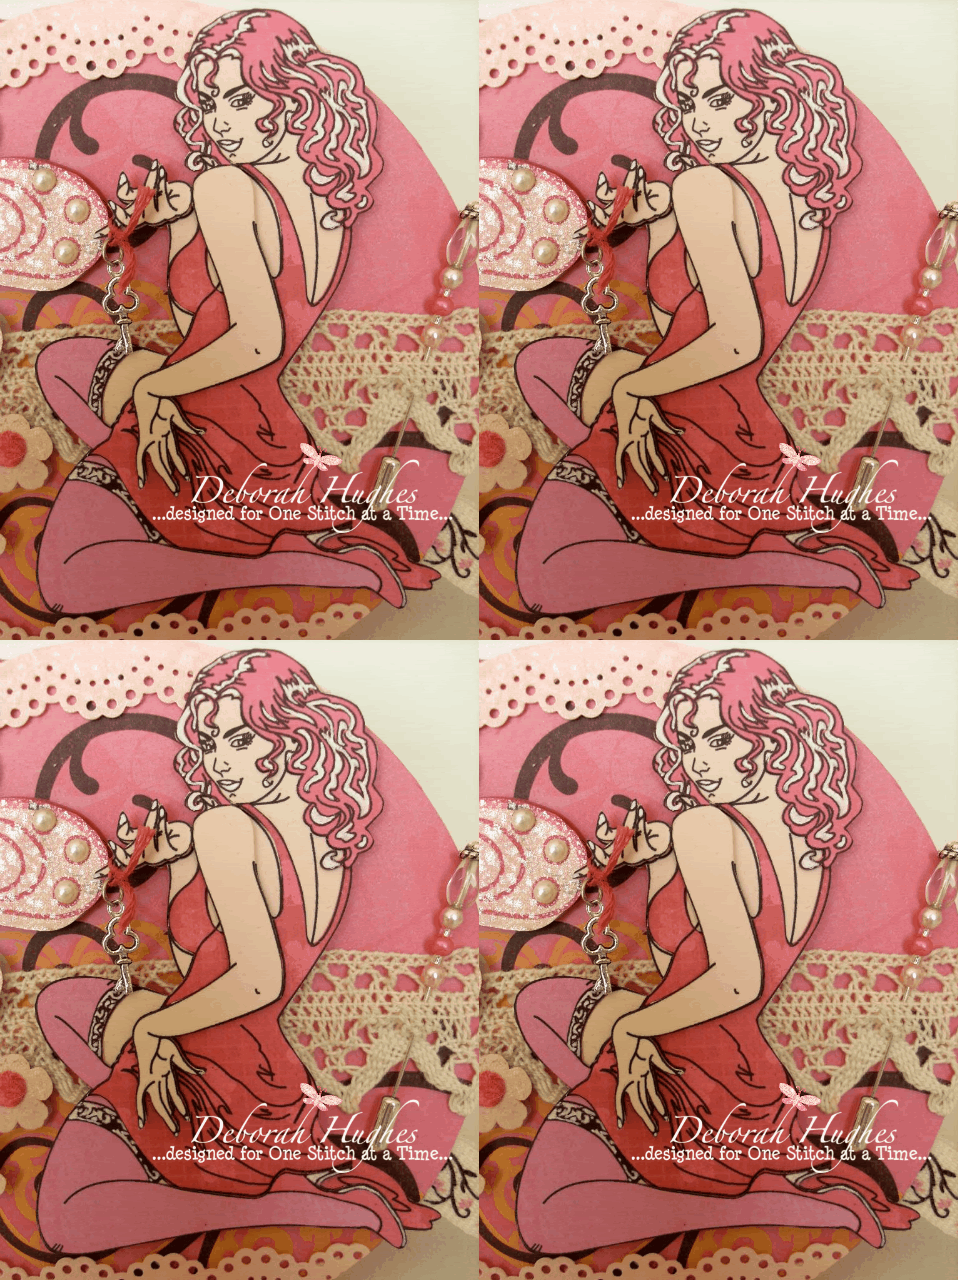
..I just LOVE this image which is Stitchy Bears 'The Key' & it couldn't be more perfect for the sassy theme. I had actually planned a totally different card, but when I went to watercolour my image - the ink run, disaster! So had to go to plan B - paper piecing. I did a layout simelar to this for one of my Papercrafter of the Year entries so the design, colours & shape all fell into place really easily...
Photobucket

...The papers are by My Little Shoe box & are just so scrummy LOVE them!!!I make the card blank with my X-Cut system because you don't have to cut a full circle, so it allows you to do the 'out of the box technique' & stop cutting where the overlap of the butterflies start...

Photobucket

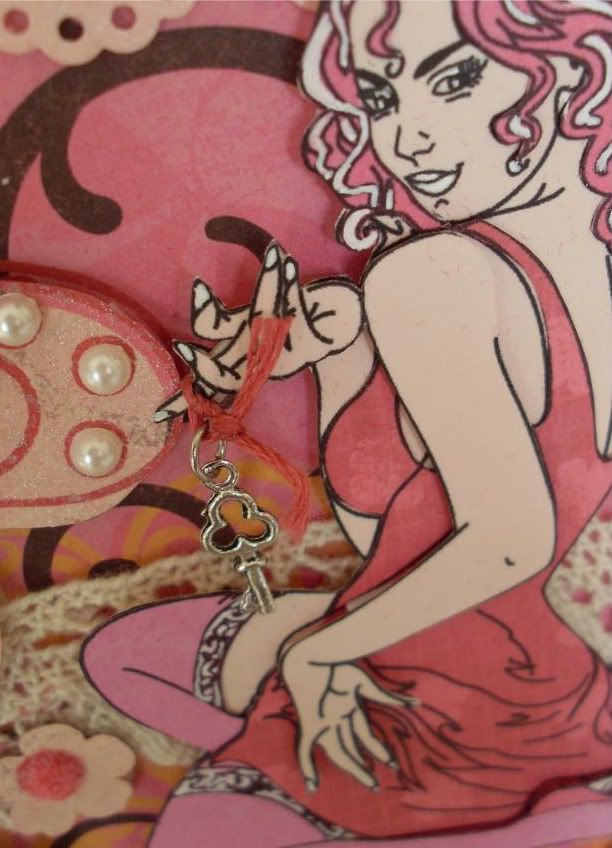
...As I said before the image has been paper pieced however I have decopaged some of the layers on top of each other using 3D foam pads for added dimention..I replaced the key in the image with a real silver key charm & am particularly pleased with how that bit turned out...

Photobucket
.
..The top & bottom has been lined with card cut with Martha Stewart doily edge punch detail & set with sworofski crystals, with Prima Lace in the middle...I have set the pin with beads & added a Maya Road ribbon tag....
Photobucket

The butterflies have been cut from a duplicate sheet of patterned paper & layered on 3D foam pads for added dimention. They have been sprayed with micas along with the punched strips, where I have used Spun Sugar Distress Ink refil mixed with 'That Special Touch of' white mica mist. Before applying I highlighted bits with a white Sakura pen, then afterwards added flock to 2 of the circles on each wing. Lastly I drew on the body with Viva Declor pen in white & added a few pearls also.
Photobucket

You can get back to the OSAAT #58 Make it Sassy challenge by clicking here http://onestitchatatimechallenge.blogspot.com/
I'd also like to enter into the following challenges:

Thursday 14 April 2011

Picking Apples - Sugar Nellie image by Elisabeth Bell

Well I've been off for a few days trying to get my e-bay site sorted & I'm about half way there now! So I thought I'd better do a post today before my new blog becomes ancient! (if thats at all possible). Anywho topdays post features an old Sugar stamp drawn by Elisabeth Bell - one of my fave artists making stamps nowadays. Its not my favourite image anymore though it was when I bought it, but it still always looks good & gives loads of scope & potential for colouring & shading. Although I used to actually do watercolour paintings from scratch, when I first started colouring stamped images this way - I didn't like the effect & so had to totally re-train myself. When I'm colouring stamped images with Distress Inks nowadays I tend to use a more cartoon, caracature feel & stick to 1 or 2 colours of the same shade.When watercolouring you usually pick a contrasting hue to shade (ie. if using red you pick green, yellow you use purple etc.) Well thats in very basic terms anyway, but with this stamp I always end up instinctively colouring it more simelar to how you would actually watercolour. I did used to love mixing colours when painting but with these Distress Inks now they are allready mixed into stunning complex colours & shades of several hues with pastel tones & some really fantastic colours that actually go with ANYTHING!!! - I have not yet come across a designer paper collection that my Distress Inks wont compliment. They're FAB ('nough said)...


So I hope I've not dissapointed with the colouring after my little ramble on! - I just wanna fly the flag for Distress Inks really cause though I love copics & have been dying to try them myself for AGES! - I do think Distress Inks are a little under used & under credited. So these are the colours I used...

 
Skin: Tattered Rose
Cheecks: Fired Brick
Hat, hair bow & Apples: Mulled Lavender& Victorian Velvet with touch of Fired Brick
Dungarees & Hat ribbon bow: Weathered Wood, Tumbled Glass, Victorian Velvet to shade
Blouse & flowers: Spun Sugar, Pumice Stone, Victorian Velvet to shade
Hair & Basket:Old Paper, Pumice Stone, Frayed Burlap with Victorian Velvet & Brushed Cordroy to shade
Grass & Leaves: Shabby Shutters with Victorian Velvet to shade
Extra Shading: Pumice Stone, Frayed Burlap & Brushed Cordroy
Highlights with crystal Stickles glitter glue

.......................................


BUTTERFLIES TUTORIAL:
The Butterflies have been made with some HOTP stancils I got for my Cardmaker of the Year prize - I got a few different ones so will be trying to get through them all soon! - Theres loads of different ways you can use them. Basically for this card I traced the templates on to different pieces of my patterned papers; the big butterfly in stripes, body on pink & inner wing sections on blue & cut out. Then I lay the pieces on another piece of patterned paper; pink for the main butterfly & wing sections, and blue for the body then cut around them leaving a small 1-2ml gap around the outline so they were slightly bigger. I then embossed all of the pieces seperately with a stylus embossing tool; basically you want to work on the reverse side of the paper in circular motions, beginning in the center & working outwards in bigger circles, then back in again - the paper will begin to curve, simply repeat until you have the desired amount. Then assemble all together & adhere with silicone or Pinflair glue. I added some wire with beads on & some beads to the wings also. I'm not totally thrilled with the outcome but happy for a 1st attempt & think theres something there to be developed...

Photobucket

The smaller butterfly has been made in the same way with 2 smaller templates. The papers which I totally forgot to mention before is HOTP also from the prize & is really delicate & pretty. Not something I probably would have chosen myself - but do really like it actually. Its good sometimes to work with materials someone else has chosen - it can bring a different element to your work, and it defo has here for me as I really think this has a different feel to most of my other makes, try it some time - its fun too!
Photobucket

The part I'm most pleased with apart from the colouring is this fab little journaling tag from the HOTP collection. I just think its so pretty & they always look great tucked under the side of the card, the little beads finish it perfectly & it really adds to the design & layout here.
The strip going across just under center has been embossed with Cuttle Bug 'Swiss Dots' embossing folder & wrapped with this gorgeous Stampin Up ribbon. Cream felt flower is from Maya Road tin, other fabric flowers are HOTP. Pin has been homemade with pearl bead from my broken necklase.
The doily which looks stunning in real has been sprayed with micas & really shines - the colours really go with the papers too. The 2 brads are HOTP also & I think thats why the card has ended up so co-ordinated as many of the elements are from the same collection, which gives a different look to mixing different manufactures & collections like I would usually do, but for a bit of a change - I think I quite like it.

I'd like to enter into the follwing challenges:
Anything Goes - Pearls
Papertake Weekly - Truly Dimentional
Shabby Tea Room - Doily
My partner in crafting crime - 3 or more layers
Paper Issues - Show us your grass! (Easter/Spring)
Sparkles Forum - Easter
Cardmakin mamas - Embellish it
Craft your days away - spots & stripes
Dream Valley - Things with wings

Wednesday 6 April 2011

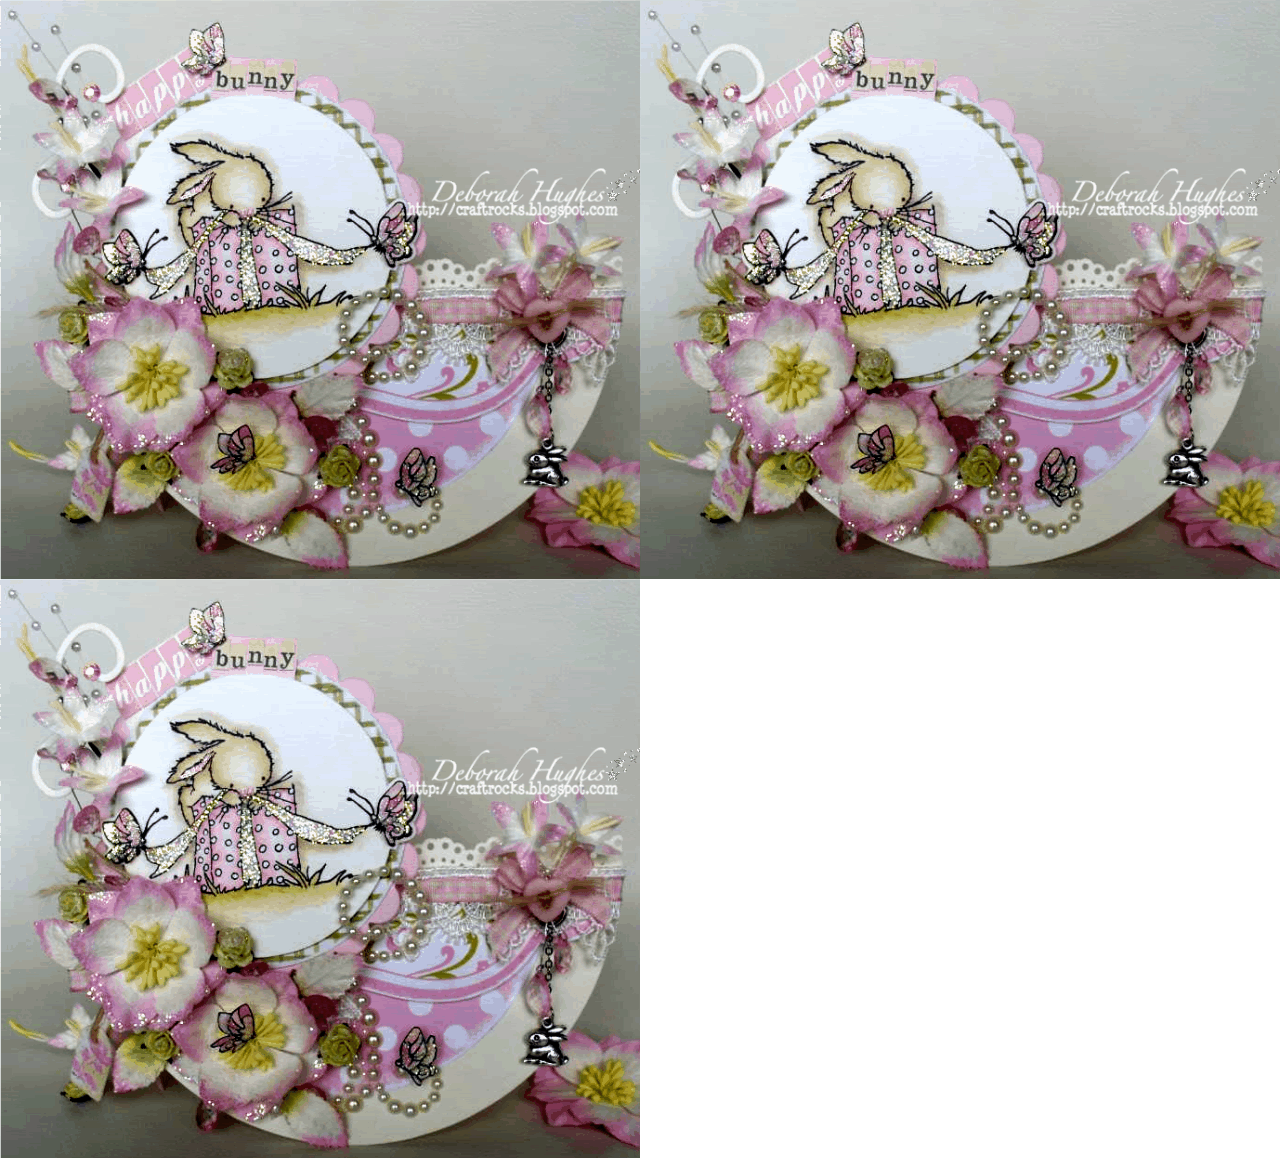
Happy Bunny!

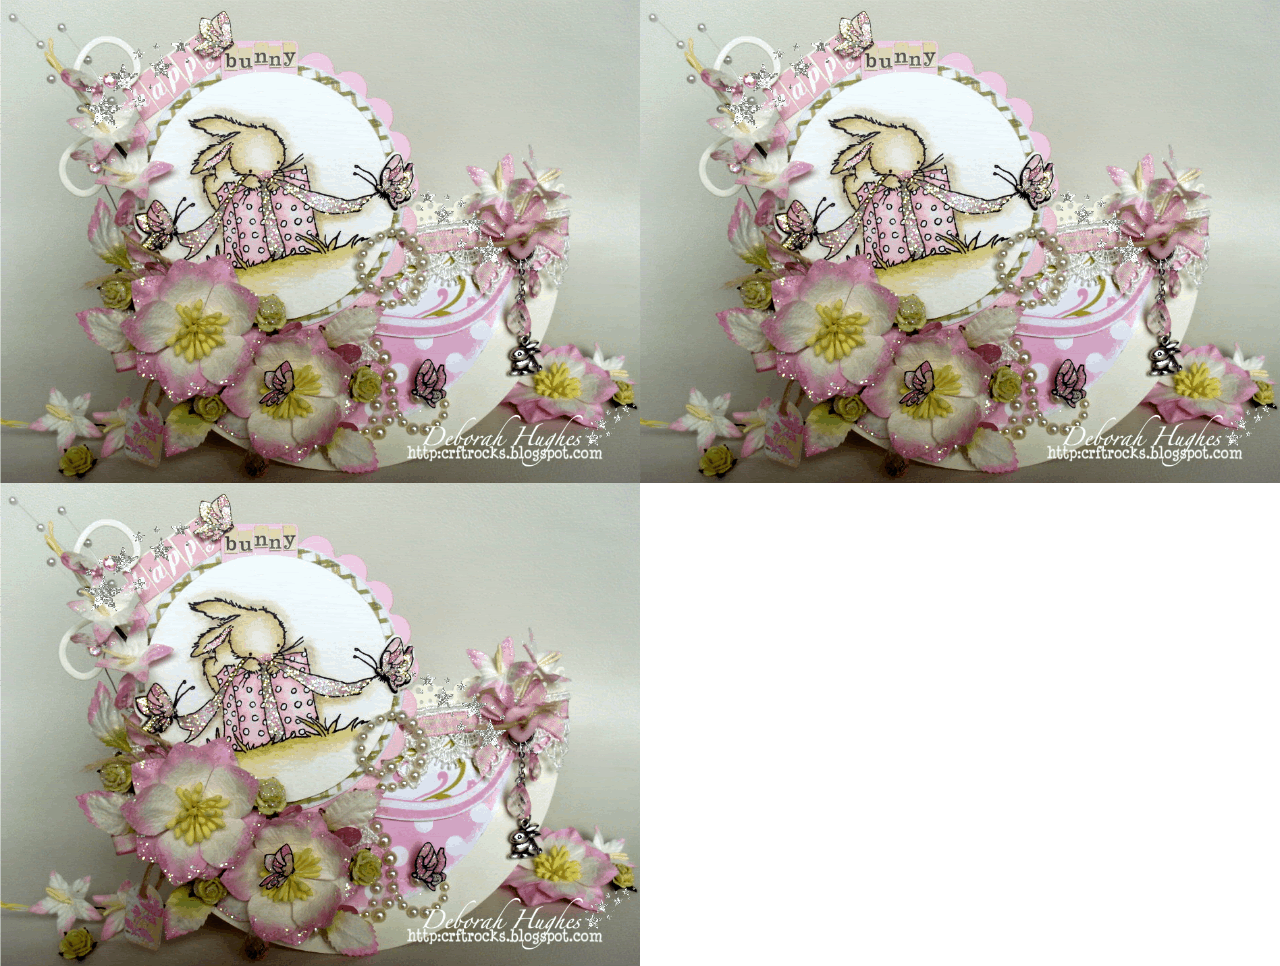
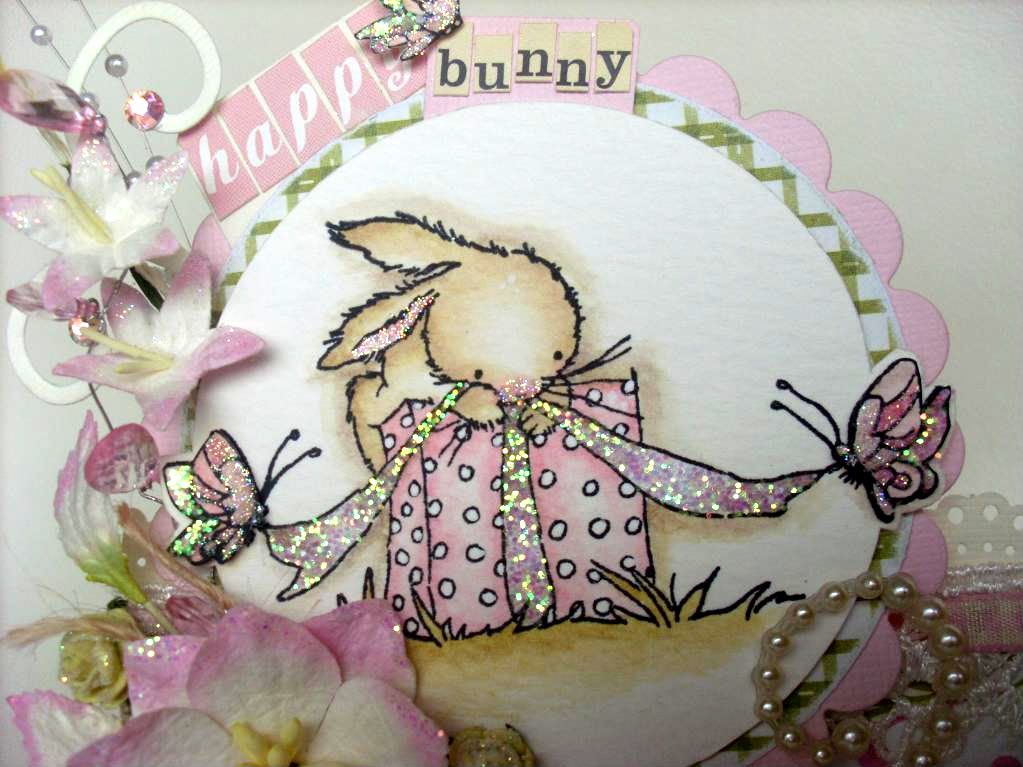
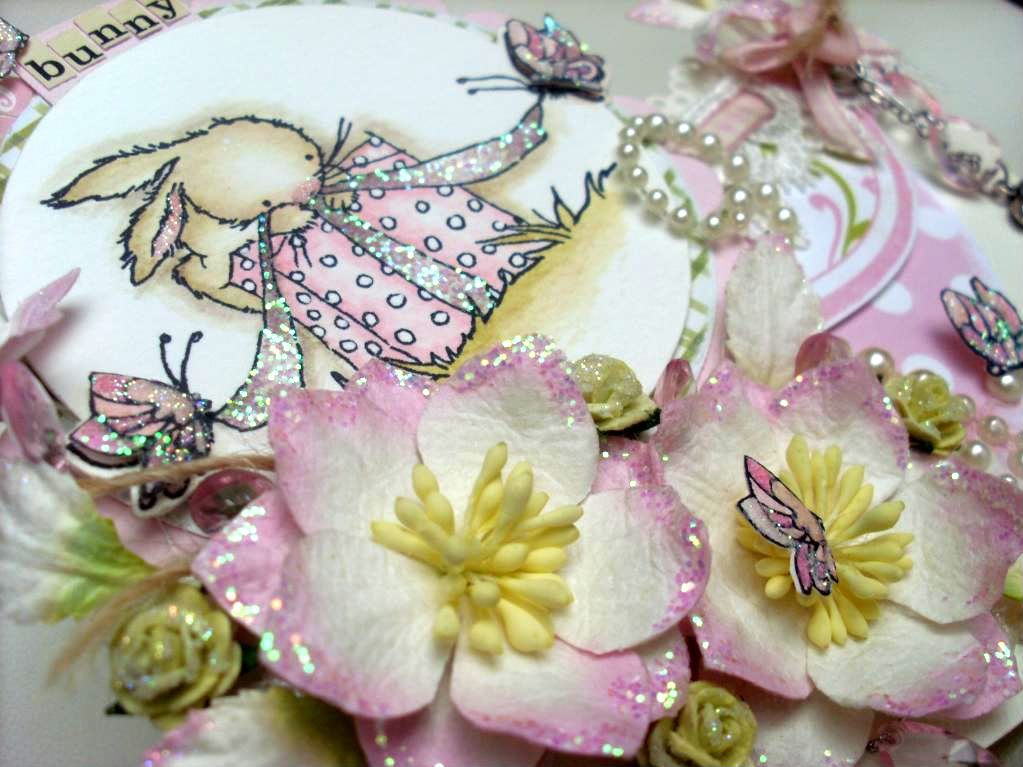
3 posts in one day! This is a bit of a special one I've made with my new LOTV stamp which I just LOVE!!! how adorable? Will defo see much ink!!! only finished it last night & can't wait to use it again! I love my shaped card blanks & this ones becoming a trusty favourite now...You basically cut a circle & fold in half, then make another smaller circle for the image....

Photobucket

Photobucket
Image has been coloured with Distress Inks:

Bunny: Old Paper
Present: Spun Sugar
Bunnies ears & nose: Spun Sugar & Tattered Rose
Ribbon: Pumice Stone
Grass: Shabby Shutters
Shading: Old Paper & Pumice Stone


Photobucket

...Papers are Echo Park & 'Paper Girl' by The Girls Paperie. Flowers are from Wild Orchid Crafts.Die cut swirls are Marriane designs. Beautiful pearl swirls are Prima Lace collection. Butterflies are duplicetes from the stamped image that have been stamped & cut out...

Photobucket

...Glitter is 'flower glitter' from my local Country Baskets & is chunky & irredescent which gives a really efective pretty & subtle glimmer.Punch is Martha Stewart doily edge punch. Lace from Wild Orchid Crafts..

Photobucket

..Cute little bunny charm from Quixotic Paperie. 'Happy' & 'Bunny tags made with Mini-alphas cream ones by Cosmo Criket & pink ones come with the Echo Park collection...

Photobucket

I would like to enter into the following competitions:

LOTV - Spring
Allsorts - Blooming Blossoms
My Sherie Crafts - April Showers
Stamptacular - Buttons, bling & bloom
Secerate Crafter - Butterflies
Scrap Creations - Recepie
Paper Sundaes - Spring Blossoms 
Stamps R us - Easter
WhoopsieDaisy - It's Springtime

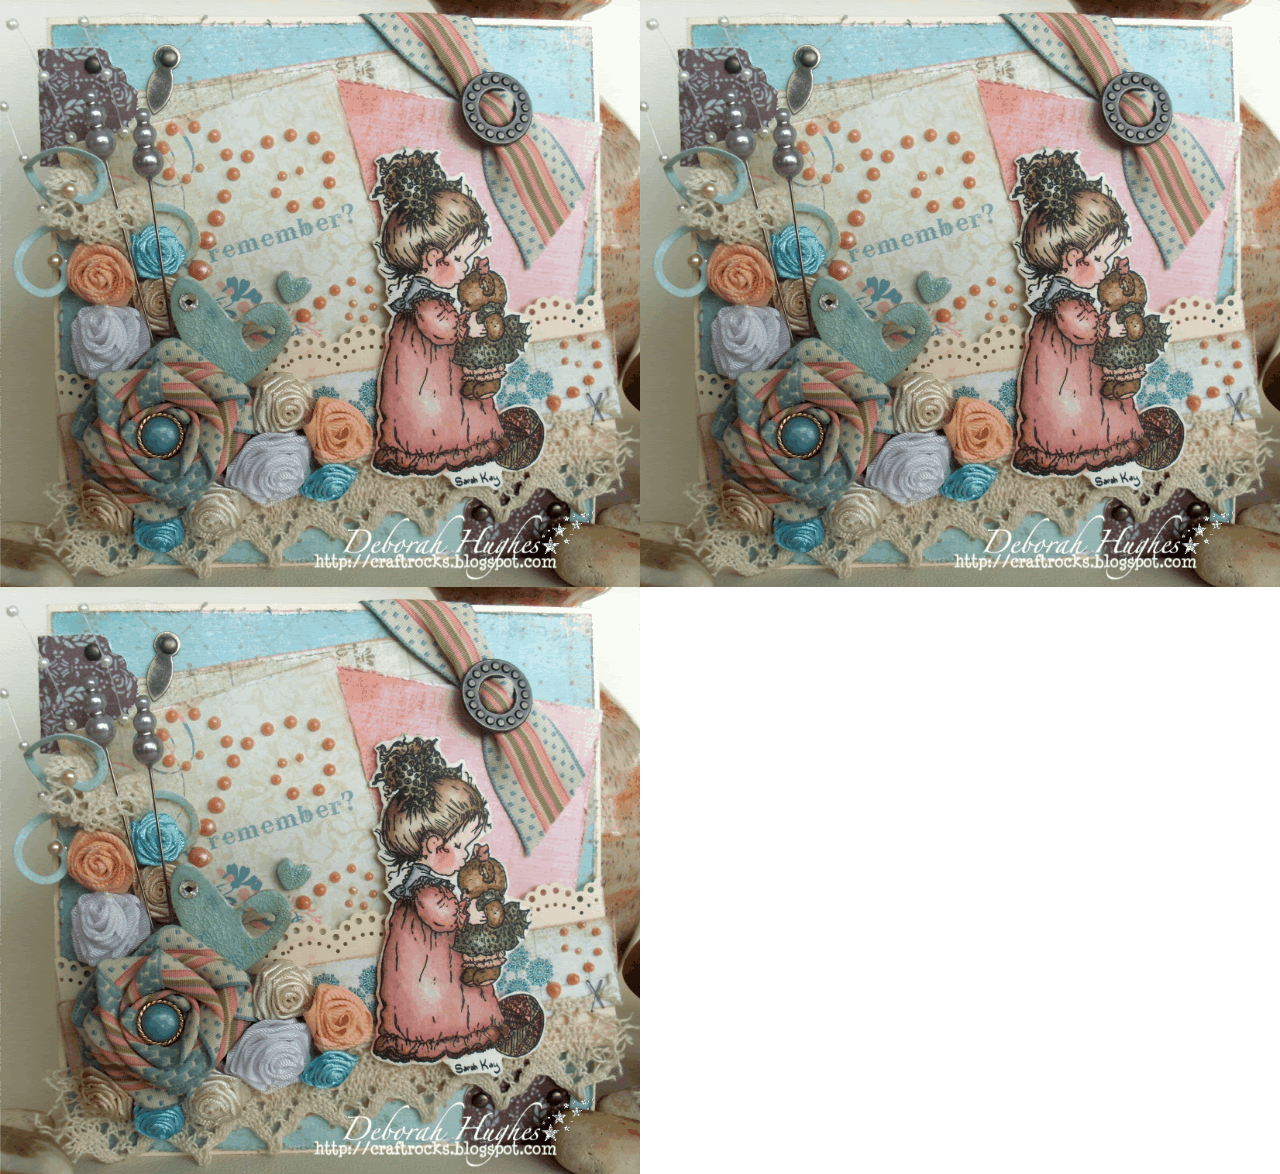
Remember

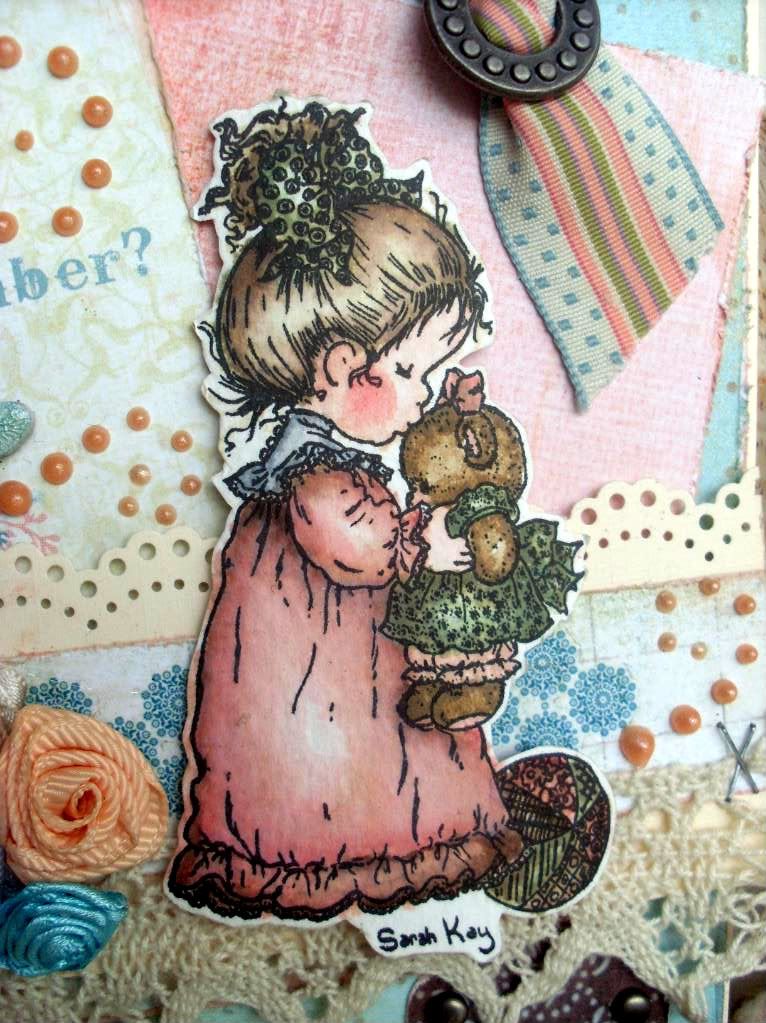
This is the second of the 2 posts I made with the Fancy Pants 'Lilac House' collection. This is a Sarah Kay stamp 'My Sweet Lili' (v. sweet!)...

Photobucket


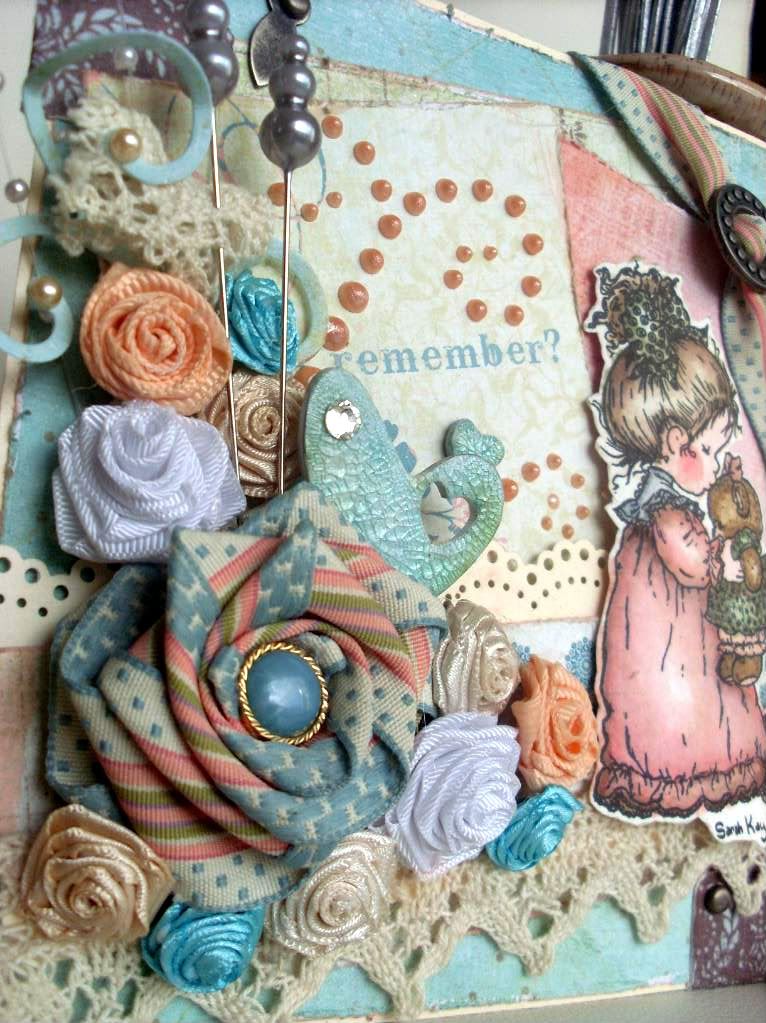
Patterned ribbon by Making Memories, metal pieces are We are memory Keepers hardware tin. Pearl effect swirls are Viva Declor pearl pen. Punch used is Martha Stewart doily edge punch...

PhotobucketImage has been coloured with Distress Inks:
Skin: Tattered Rose
Cheeks: Fired Brick
Hair: Old Paper, Frayed Burlap, Walnut Satin
Dress: Spun Sugar, Tattered Rose, Fired Brick
Top of dress: Weathered Wood
Teddy: Old Paper, Brushed Cordroy
Teds paws, draws & bow: Tattered Rose
Hair ribbon & Teddies dress: Shabby Shutters
Ball (3 colours): Colour 1 - same as dress, 2 - as teds dress, 3 - as hair
Shading: Frayed Burlap

Photobucket


...Flowers made by myself from ribbon using ribbon rose technique. Defo worth a look up on You-Tube!
I may do a tutorial on them for a future post...


 ...Swirl is Marriane Design, lace from Quixotic Paperie...


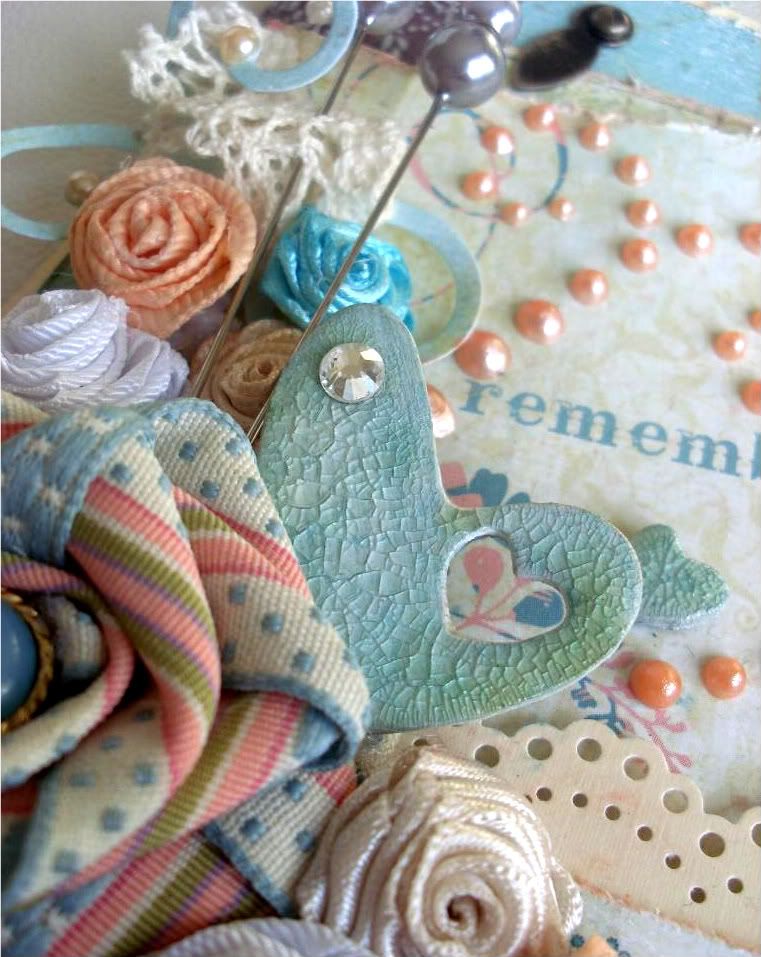
Photobucket...Chipboard heart by Maya Road covered in white acrylic, then sprayed with micas & coated in Crackle Paint.

I would like to enter into the following competitions:

Crafty Annes challenge blog - Elvis song (I'll remember You)

Dutch Dare - Distressing

Scrap it with a song - 'This kiss'
Wags n Whiskars - Ribbons & Pearls

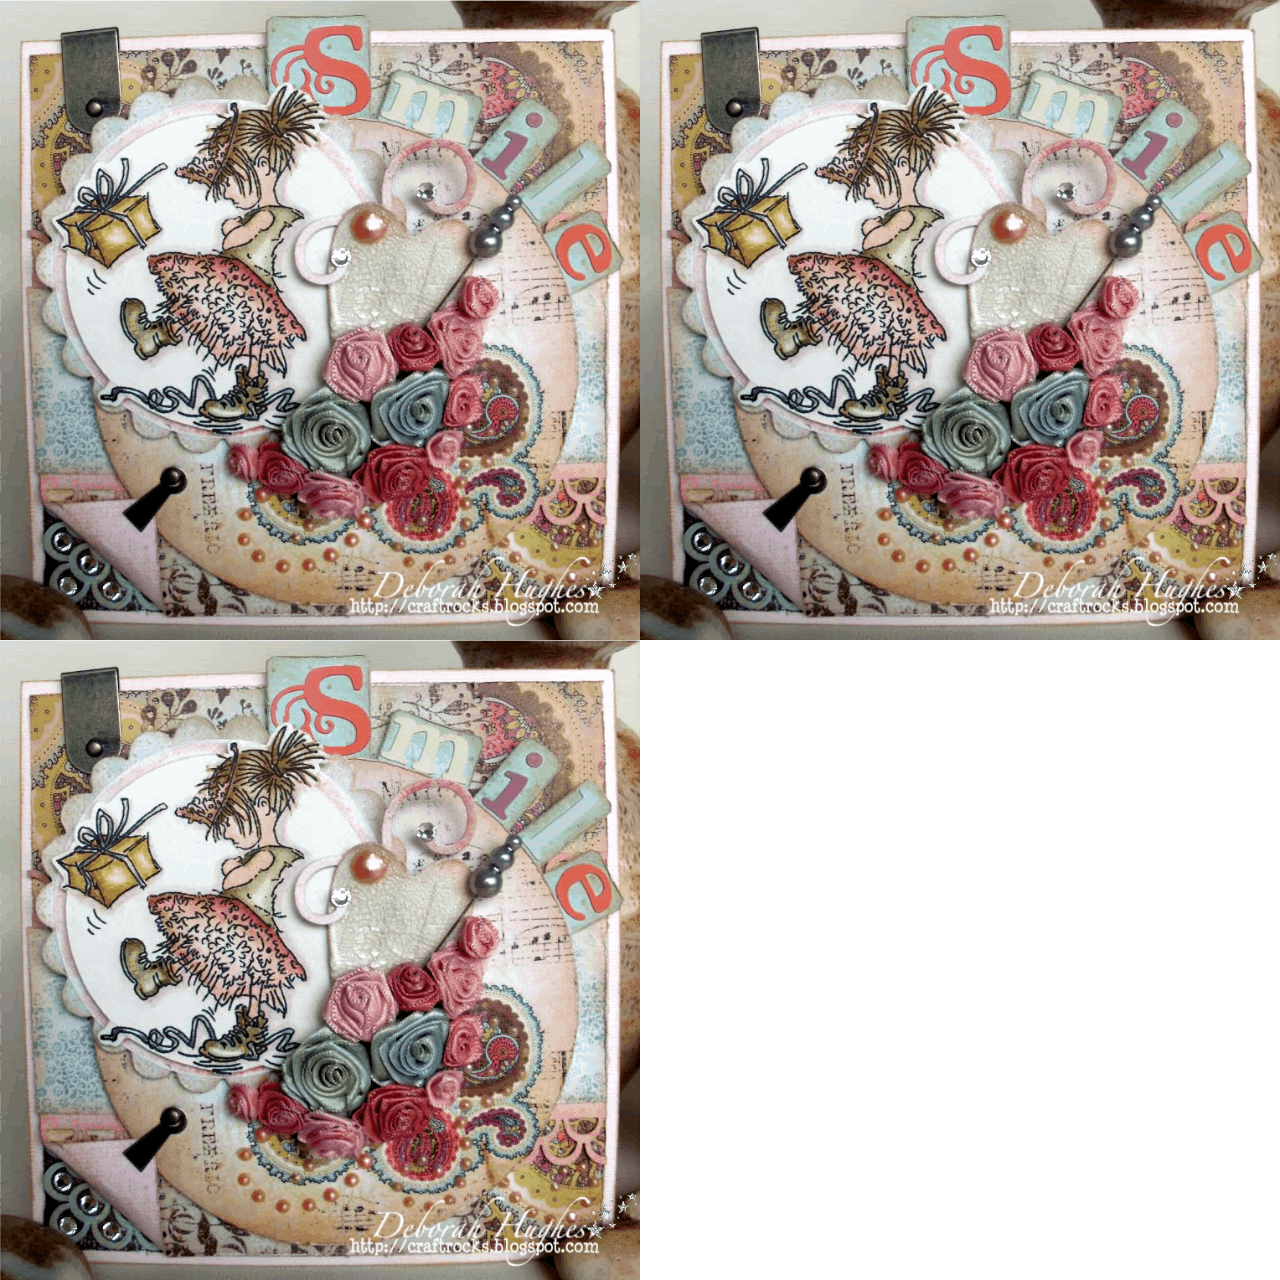
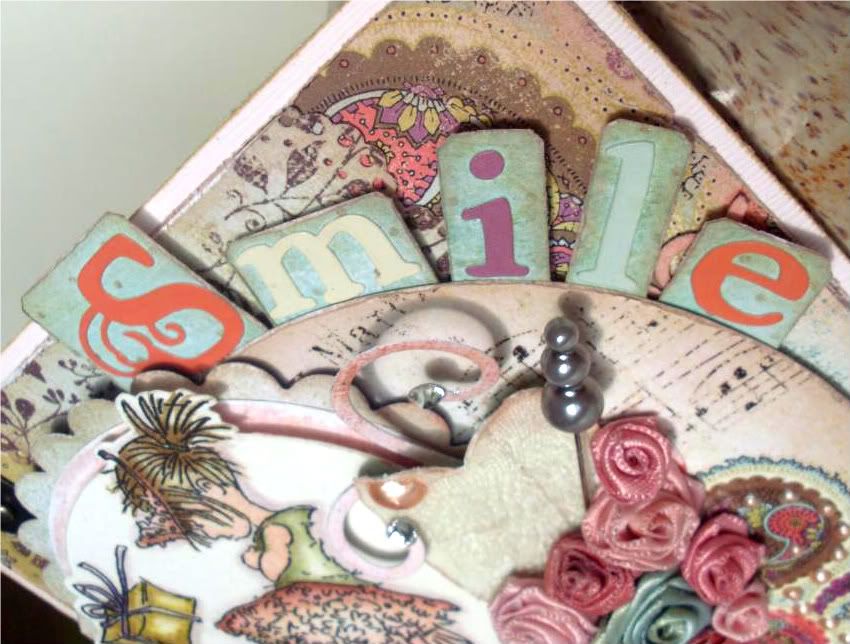
Smile!

I'm gonna start today with 2 posts I wanted to do yesterday, but time completely ran away with me (again). Anyhow I recently purchased this Fancy Pants collection which is really beautiful. I've also been making those ribbon roses (I'm sure you've seen them around on the internet) so thats how these came about really...

Photobucket

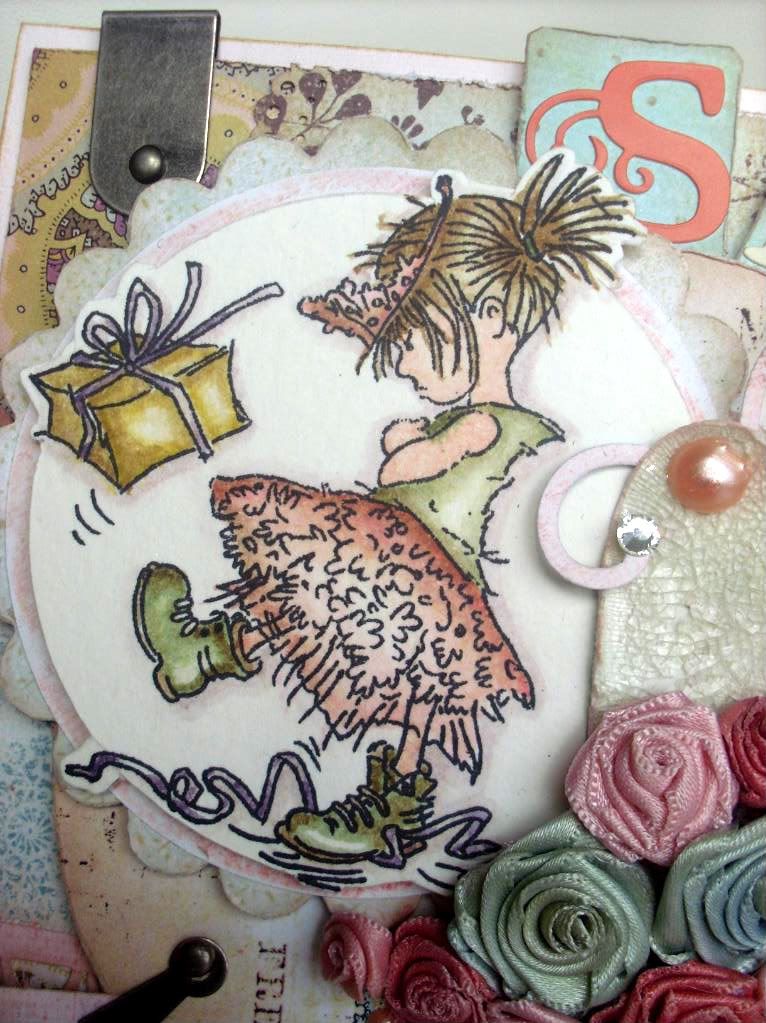
...Image is LOTV 'It's my Party' stamp & has been coloured with Distress Inks as follows...

Photobucket


Skin: Tattered Rose
Hair: Old Paper, Frayed Burlap, Brushed Cordroy
Top & Boots: Bundled Sage, Shabby Shutters
Skirt & Tiara: Spun Sugar, Tattered Rose with hint of Fired Brick
Present: Old Paper, Curshed Olive
Ribbons: Mulled Lavender & Dusty Concorde
Shading: Brushed Cordroy
Shaddow outline: Mulled Lavender

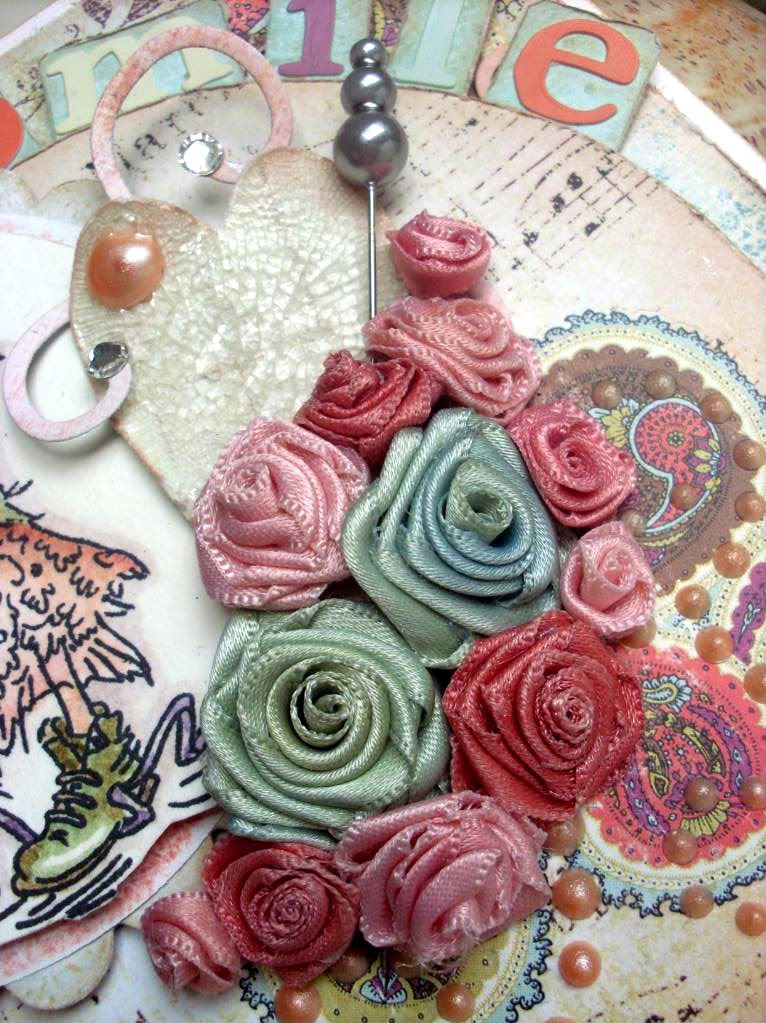
Photobucket...Corner & edge punch is Martha Stewart Double Loop Punch around the page punch...Heart has been punched from patterned papers & painted with clear Crakle Paint. Swirl is Marriane Designs... Roses have been made my myself from ribbon & coloured with micas or Distress Inks...

Photobucket

..I would like to enter into the following challenges:

Crafty Annes challenge blog:
Elvis song (Smile an everlasting smile)

Thanks for looking!!!

Sunday 3 April 2011

Soar (a cut above)

This is the second post of the pair of fairy stamps using the 'Material Girl' papers by Cosmo Cricket. This cute little image is Maisy Ketto by Stamping Bella...


...Image has again been coloured with Distress Inks & highlighted with Doodlebug Design glitter as follows:


Skin - Tattered Rose
Cheeks - touch of Barn Door
Dress & Shoes - Barn Door
Wings & wand - Scattered Straw & Mustard Seed
Pants, leaves & crown - Shabby Shutters
Outer wand, jewels on crown & trim on dress - Tumbled Glass

Highlights - white Sakura pen
Shoes - red glitter
Inner wand & wings - yellow glitter
Crown - green glitter
Jewels on crown - blue glitter
Polka dots - white Sakura pen & Glossy Accents
Dots on wand & ends of hair - clear glaze Sakura pen
 
Red patterned flowers by Making Memories, other paper flowers by Prima, silver ornate metal flower Country Baskets. Tape measures cut from patterned papers...

....To make Bottle top art:
Hammer top of bottle top to shape then turn over
Attatch punched circle with distressed edges
Coat Maya Road chipboard with 3 coats of yellow acrylic paint (leave to dry after each coat)
Apply Versa Mark ink to surface & sprinkle with UTEE then heat with heat gun, whilst hot sprinkle with blue embossing powder & re-heat. Repeat the process with UTTE, then sprinkle with white embossing powder. Finish with 1 more layer of UTEE.

(NOTE: all powder needs to be applied whilst hot in order to stick to surface - other-wise will blow wheheated.)
 

Wish big & often

I'm doing a double post today of a pair of fairy cards made with the same paper collection. For this make I have used my new Sugar Nellie Manga fairy, who I have so fallen in love with - how gorj is she?!! & I think she looks great in these bright colours to match the fab papers which are 'Material Girl' by Cosmo Cricket...


..I've used a template to cut out the large scalloped section, then distressed the edges along with the rest of the pieces. Ribbon is by 'Stampin Up' & again I think matches the paper perfectly. The papers are from a 6x6 pad, but the journaling tag is from a 12x12 paper from the same collection. Flower is by Prima, the silver flower & pin are from my local Country Baskets. Buttons by Stampin Up. Ticket is Tim Hotlz & the pewter corner piece is my absolute fave new buy We are Memory Keepers Hardware tin...


Image coloured with Distress Inks:
Skin - Tattered Rose
Tights & Bow - Spun Sugar & Barn Door
Hair & Shoes - Tumbled Glass & Faded Jeans
Dress - Shabby Shutters
Bow on back of dress - Wild Honey & Spiced Marmalade
Wings, wand, stars on shoes & bow on front of dress - Scattered Straw & Mustard Seed

Highlights - White Sakura pen
Wings, wand & stars on shoes - Yellow Doodlebug Design glitter
Hair bow - Red Doodlebug Design glitter
Bow on back of dress - Orange Doodlebug Design glitter
 
I'd like to enter into the following challenges:
Scrap creations (fairytales)
Flutter by (buttons & bows)
 

MY MAGNOLIA SLIDESHOW

LinkWithin

Related Posts Plugin for WordPress, Blogger...