Hey there & welcome to the Anything Goes blog hop! We are celebrating as 1 year ago the Anything Goes challenge blog was born & hope you'll come in & join the fun - theres some prizes up for grabs. I've listed the order of the hop below so if you get lost you can find your way again. If you've not come from the beginning & would like to do the hop then pop back to the start at the Anything Goes blog using the link above. You'll find a link to the next blog along with a 'hidden' letter or 2 on each of the blogs. You need to collect all the letters & make a note of them. At the end of the hop - you should have a scrambled 2 word phrase, when you've worked out the phrase (bear in mind the occasion - which should give you a clue if your struggling!) then leave your answer at the end of the hop. Also to be eligable for the prize you will need to leave a comment on each of the DT blogs you visit along the way. If you also choose to enter this fortnights 'masking' challenge - then you will automatically be entered twice for the prize, along with the usual perks of the challenge including top 3 & random winner. Heres the blog hop order:
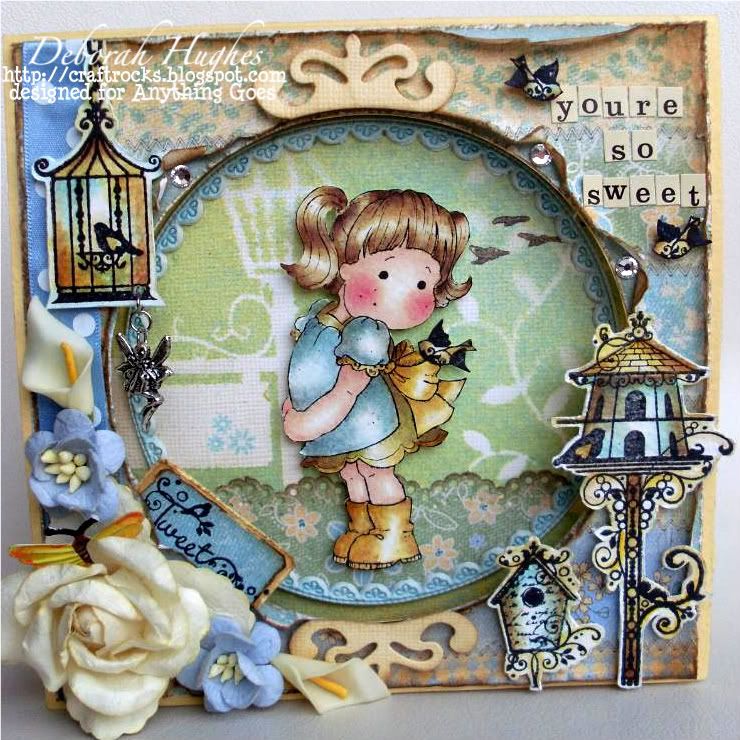
Now onto this weeks challenge which is 'masking' & since I got my mica sprays & a selection of masks as part of a competition prize I've been enjoying experimenting. However I'd not used them on a finished project yet, so was raring to give em a go! I've used 'Hello Little Butterfly' which amongst other products I've used is from The Craft Den, which is a fab little on-line store defo worth checking out. There also celebrating by having a big MEGA SALE at the moment including some gorgeous 12x12 papers for just 79p from 99p as well as free postage on orders over 10.00. So why not head on down there & take advantage using the link above...
Start: Anything Goes challenge blog
Annie
Cheryl
*** Deb.x - YOU ARE HERE!!! ***
Katy
Kathryn
Lessa
Lynne
Sandra
Steph
Val
Tamara
End: Anything Goes Challenge Blog
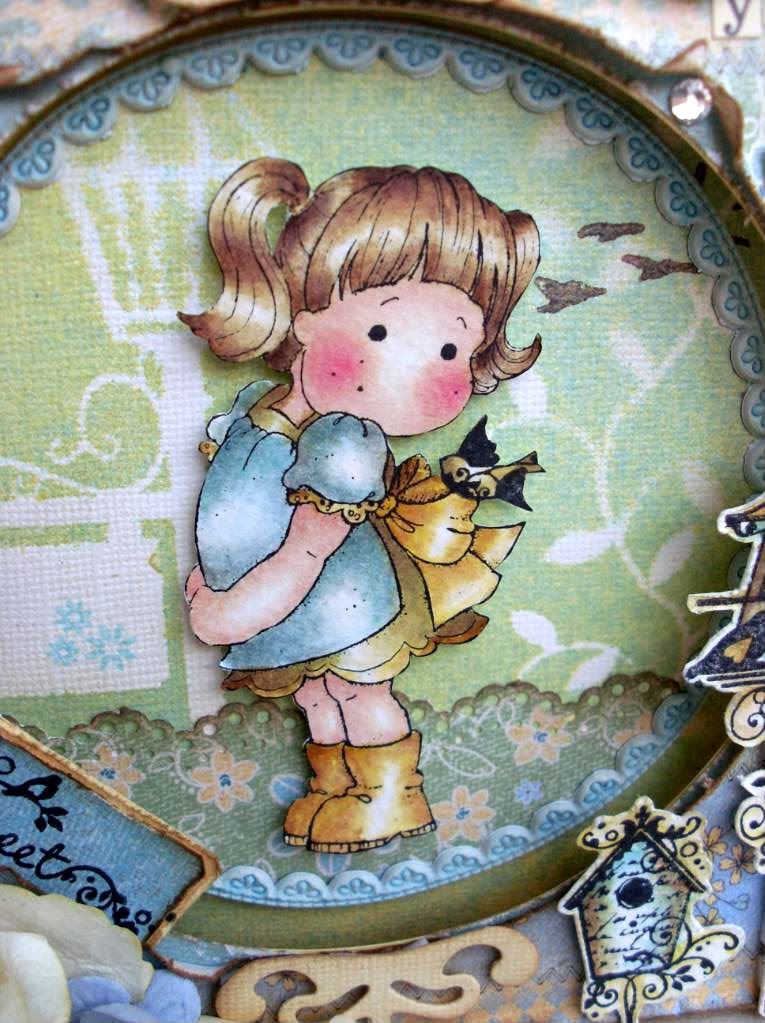
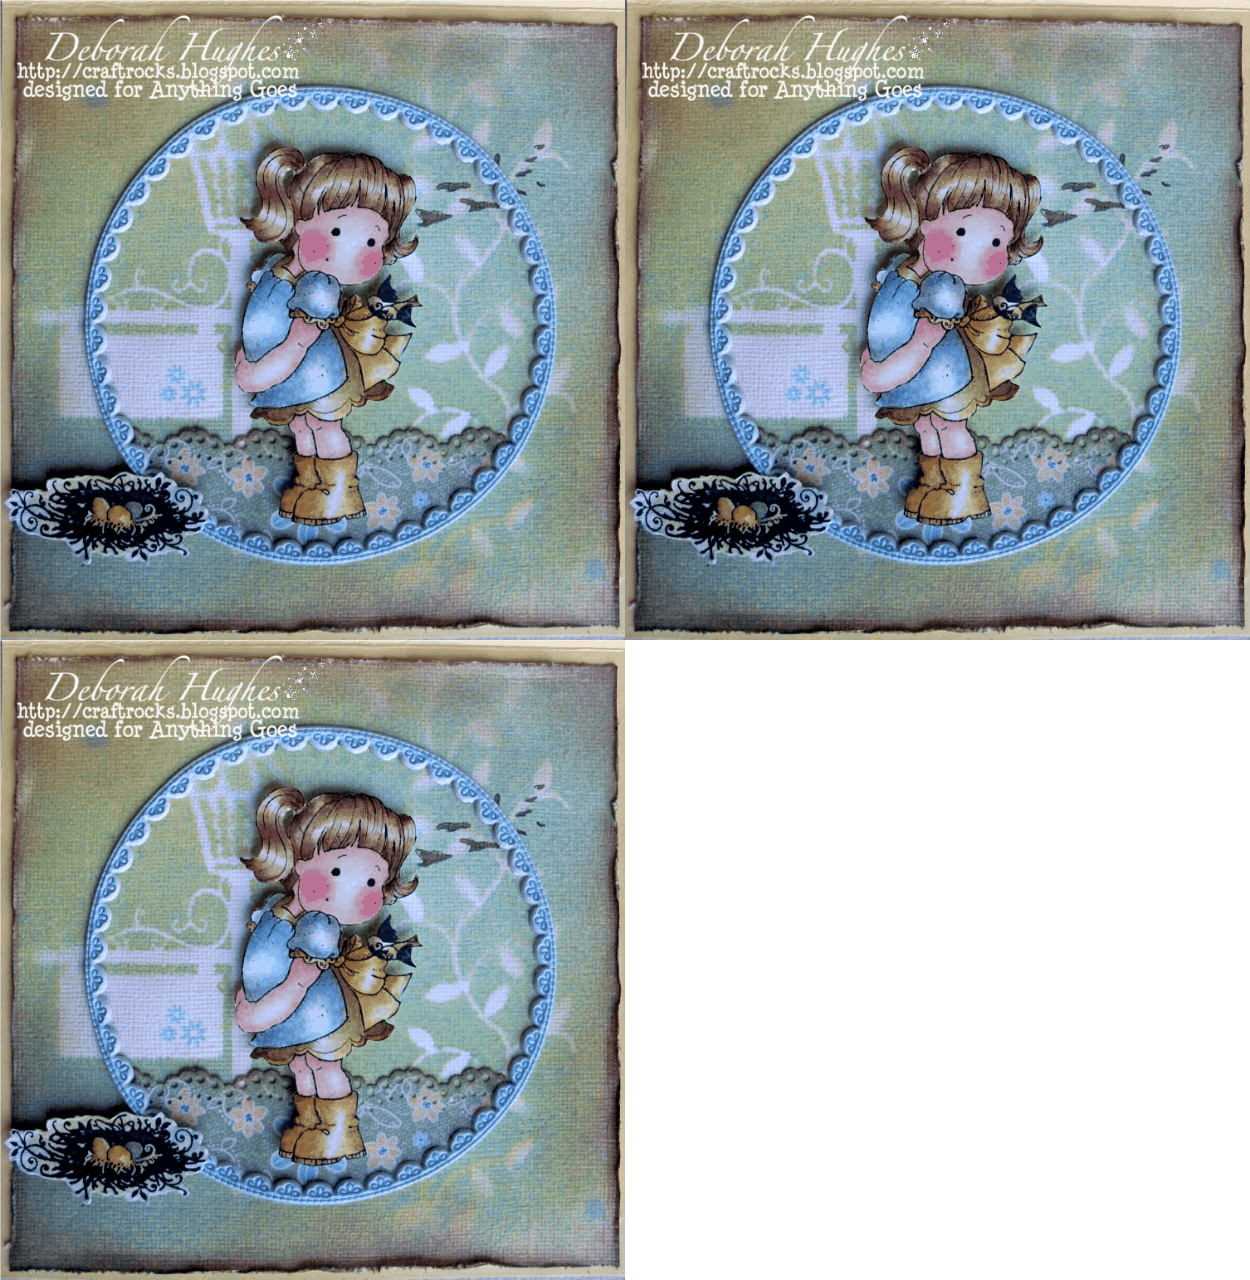
Papers are from an old HOTP collection. The other birdy related stamps are also from a HOTP clear stamp set. All images have been stamped on watercolour papaer & coloured with Distress Inks. Notice the bird on Tildas bow - anyone who knows the stamp - no your eyes are not decieving you & Tilda fans, don't worry theres not another Tilda stamp you haven't heard of! - I've used a masking technique to mask the butterfly on the origional image, then stamped the bird in its place. See tutorial at end of post below...
DISTRESS INKS:
(Main Image)
Skin - Tattered Rose, Old Paper
Cheeks - Fired Brick
Hair - Old Paper, Frayed Burlap, Walnut Satin
Dress front - Tumbled Glass, Weathered Wood, Frayed Burlap
Dress back & bird - Shabby Shutters, Frayed Burlap
Bow & Shoes - Old Paper, Scattered Straw, Frayed Burlap
(Front)
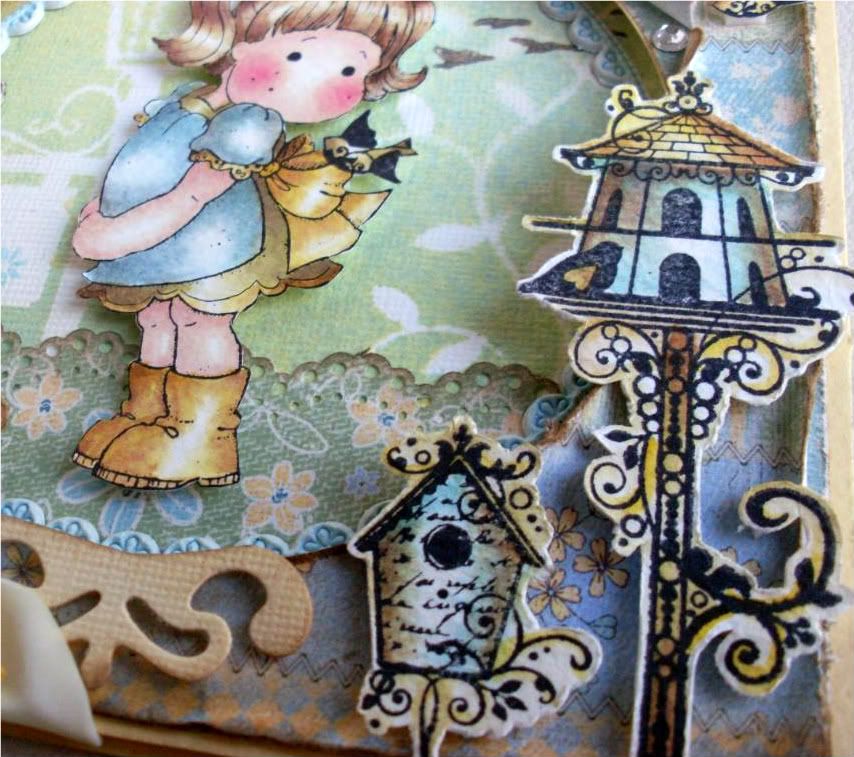
Birds & bird houses - Tumbled Glass, Shabby Shutters, Scattered Straw, Frayed Burlap, Walnut Satin
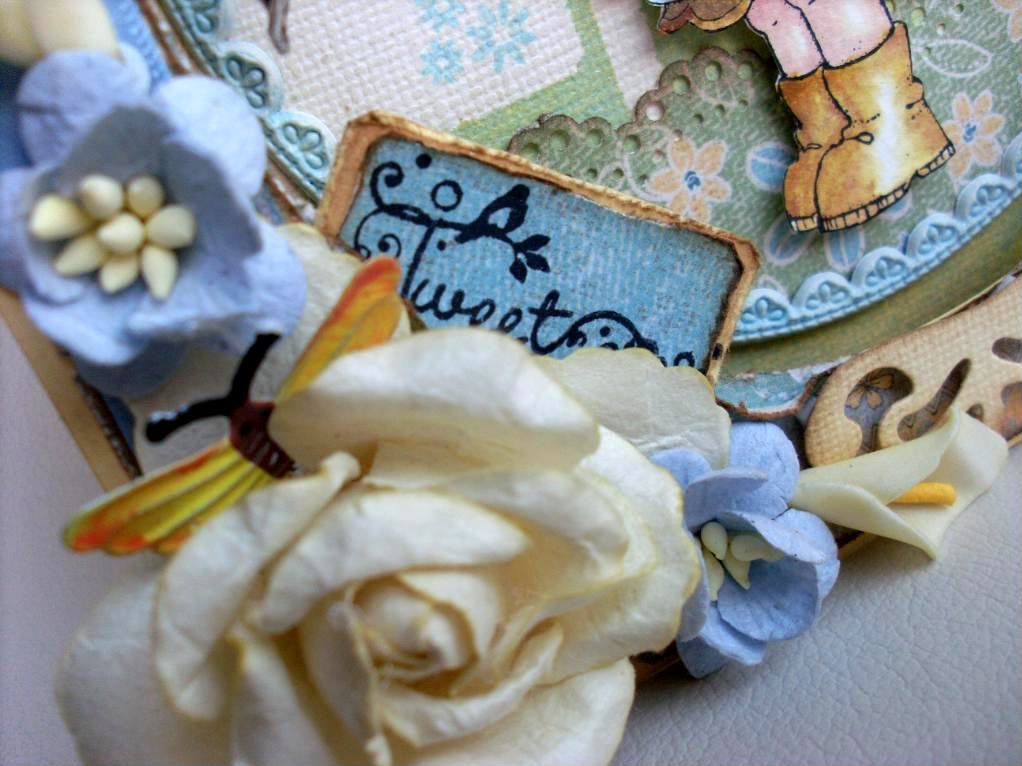
...Blue flowers from Wild Orchid Crafts all others available soon from my e-bay store. Tag is handmade & stamped with sentiment from HOTP set....
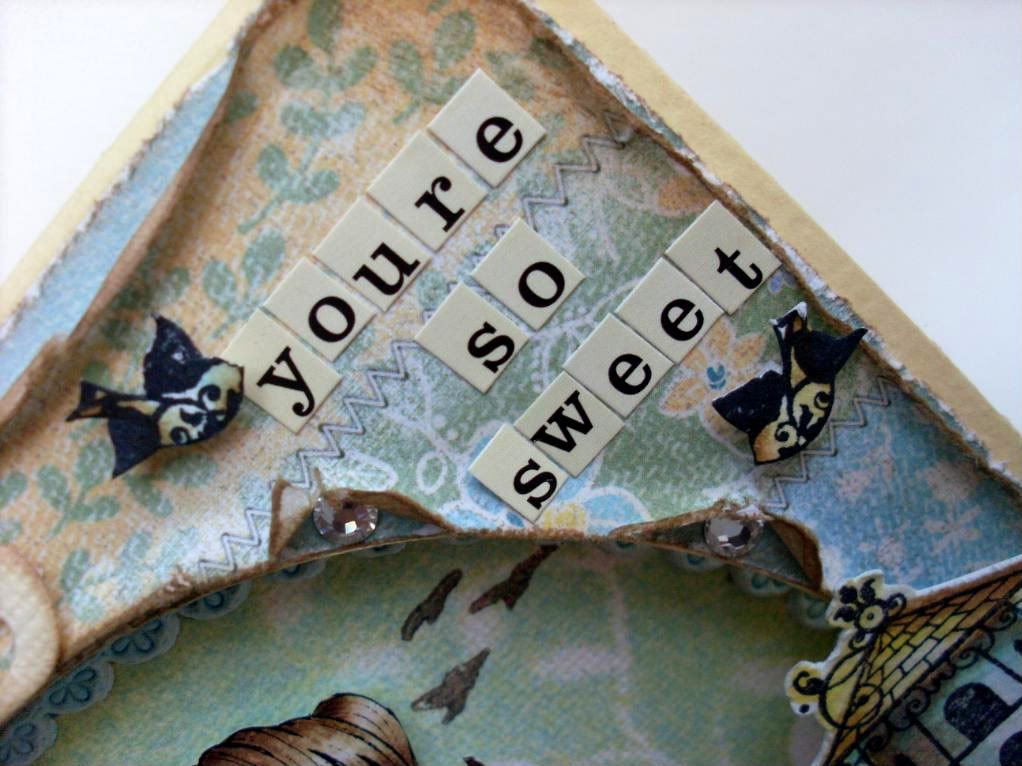
Mini-alphas by Cosmo Cricket spell out 'You're so Sweet' sentiment - notice the little Sworofski crystals hidden under the rips - these never show up so good on photos, but in real they are soooo efective & really sparkle!
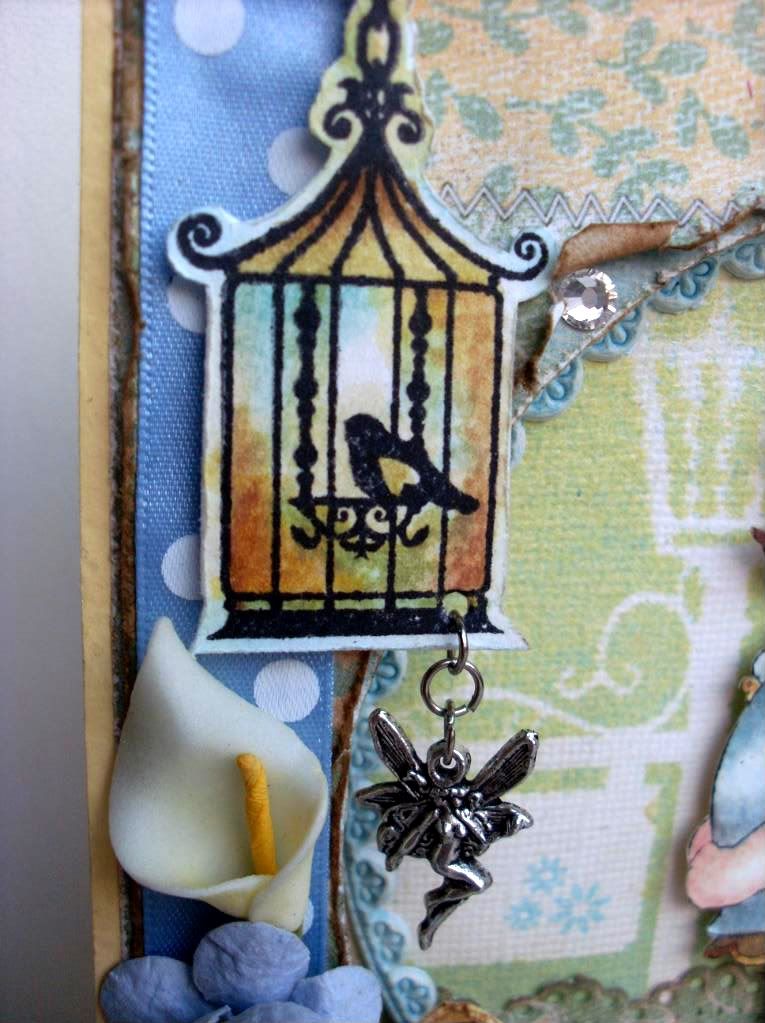
How gorgeous is this fairy charm? - the perfect finish to this make. Also just how stylish are these HOTP bird cages - I LOVE them! Below is a pic of the inside & a tutorial on how to mask
MASKING TUTORIAL:
1) Cut just short of a 6"square of white card-stock.
2) Choose your masks - I have used 'That Special Touch of'', 'post' & 'vines' masks
2) Choose your mica sprays. I used Tim Holtz Distress Inks (re-inkers) in Tumbled Glass & Mustard Seed. I mixed a few drops of each colour seperately & filled with water in 2 mini-misters, then added a bit of white mica powder to give a shimmer. (You could of course use pre-made mica mists like glimmer mists)
3) Position the masks on the card-stock, if you want a really clean edge then consider using a re-positionable spray adhesive, however I quite like the soft edges as they give a dreamy whimsy feel. Now spray your micas over them. Concentrate the 2 colours in opposite corners, so the whole surface is covered but there is a definate colour blend in to yellow or blue in the corners, mixing into a green in the middle.
4) Leave to dry & remove the masks - you now have your background!
5) Stamp the birds flying away in archivable ink (I used Versa-fine 'Sepia') & the tiny flowers on the sign in Tumbled Glass Distress Ink
STAMPED TILDA IMAGE MASKING TUTORIAL:
1) Stamp your image onto a scrap piece of paper. If you have something with an allready sticky back, such as post-it notes its even easier - but not essential.
2) Cut out the section which you are going to 'mask' (the bit you want to get rid of) in this instance - the butterfly
3) As this is a small area I'm masking I found it easier to adhere this to the actual stamp itself as its a bit fiddly, but for masking larger areas theres better techniques involving masking the paper.
4) Don't forget to ink up your stamp 1st, then adhere the cut out section directly over the corresponding part of the stamp if your not using post-its then you could use double sided tape (obviously leave the backing on so it doesn't stick to the paper on the other side!) you could try glue sticks it may even stick just to the wet ink without the need for adhesive - so just experiment first to see. (basically you are preventing the ink from coming in to contact with the paper)
5) Now when you stamp on to your watercolour paper - you will have the whole image minus the masked section. You can now add the bird stamp in its place.
The flourishes at the top & bottom of the apature are cut from a Spellbinders Fancy Tags 3, I've just cut the flourises of the 2 ends of the oval shaped die.
Your next stop is Katy
I'd like to enter into the following competitions:

Your card is stunning I just love all the detail and colour. A big thank you also for sharing your tutorial with us aswell!
ReplyDeleteWhat a gorgeous card, and thanxs for the tutorial about masking.
ReplyDeleteHugs,
Babette
Gorgeous card Deb, so much work and attention to details, always makes your blog such a good read!
ReplyDeleteHugs
Tamara
oh debs hun this is just stunning the detail on this is pure eye candy love it hugs cheryl xxx
ReplyDeleteWAUW Debbie, it is once again sooooooooooo beautiful with so many details that I keep on looking!!!!!!!!!!!!!!!!!
ReplyDeleteGr. Irene
gorgeous card deb, what a lot of details.
ReplyDeletelove the birdcages, like it.
greetings karin
lovely card dear...
ReplyDeletemy comment is not getting published..??
ReplyDeleteWow! Gorgeous card and fab tutorial! Thanks for sharing.
ReplyDeleteSheena
xxx
Another superb card beautifully coloured fab work hugs rebekah xx
ReplyDeleteOh how I love your style. What an awesome and beautiful creation this is. Love the cut out images and your coloring. Amazing I didn't find you sooner. "Hugs" Carol
ReplyDeleteWhat a gorgeous card. This is a very good bloghop I made. I love the birdhouses on your card.
ReplyDeleteAartje
Stunning card Deb! Love it. You're such an inspiration. Dawn♥
ReplyDeleteGorgeous gorgeous Deb!! Girl after my own heart with this tilda and of course the detail is just fab hun!
ReplyDeletexx
Beautiful masking ^^ I absolutely love it!
ReplyDeleteWhat a gorgeous card, Deb! Just darling! Love how you magically transformed the butterfly into a birdie. LOL Very cute! And very clever of you.
ReplyDeleteHuggies ~
Sharron♥
Oh my goodness, you are doing so well for having only had your blog for a month! I'm on day 3 of mine so still a complete baby. The blog hop led me here and I'm so glad I visited as I've just become a follower! Tracey x
ReplyDeleteHiya hun, what a beautiful card and the tutorial is fantastic!! An inspiration as always :) LOVE IT Deb!! Hugs Annie xXx
ReplyDeleteThat is SUCH a cute little card. Love it! - Heather B
ReplyDeleteA beautiful detailed card :-)
ReplyDeleteSuch a beautiful card Deb, I love the distressed look with all the fantastic details. :-) xx
ReplyDeleteYou have done an amazing job on the masking, coloring, and overall design. Just adorable!!!!
ReplyDelete:O)
Jessica
jessicascraftshaque.blogspot.com